Deployment
After thoroughly testing your handler code, you’re ready to deploy your instance to a production environment. Before starting, make sure the required authentication fields are correctly configured in the YAML file. You can add these directly in studio.yaml or use an .env file in the root directory.
Obtaining User-ID and Project-ID
If you haven't already, you'll need to create a Blockflow account and obtain your User ID and Project ID. You can do this by visiting the Blockflow Console and following the provided instructions.
Once you have your User ID and Project ID, update the studio.yaml file with these values, ensuring that they are correctly specified.
Version: 2.0.0
Type: instance
Metadata:
  name: Uniswap
  description: Uniswap V2 Indexing Example
Auth:
  userId: process.env.USER_ID
  projectId: process.env.PROJECT_ID
  accessKey: process.env.ACCESS_KEY
  secretKey: process.env.SECRET_KEY
Ensure the Metadata field is properly set, as this will appear in your console account when viewing instances.
Deploying the Instance
With the User ID and Project ID configured, you can deploy your instance using the following command:
This command will initiate the deployment process, uploading your configuration and code to the Blockflow platform. The deployment of resources is dependent on the yaml type. If yaml type is instance then databases defined in schema.ts are deployed before instances.
Redeployments
If you missed something or encountered an error, Blockflow has redeployment caching enabled.
Simply retrieve the instanceId of the instance you want to redeploy and add it to your YAML file as shown below:
Then, run the blockflow deploy command. This will redeploy your instance with the updated code.
If you prefer using the CLI, you can redeploy with these commands:
Both options will trigger the redeployment process, updating your instance effortlessly.
Monitoring the Deployment
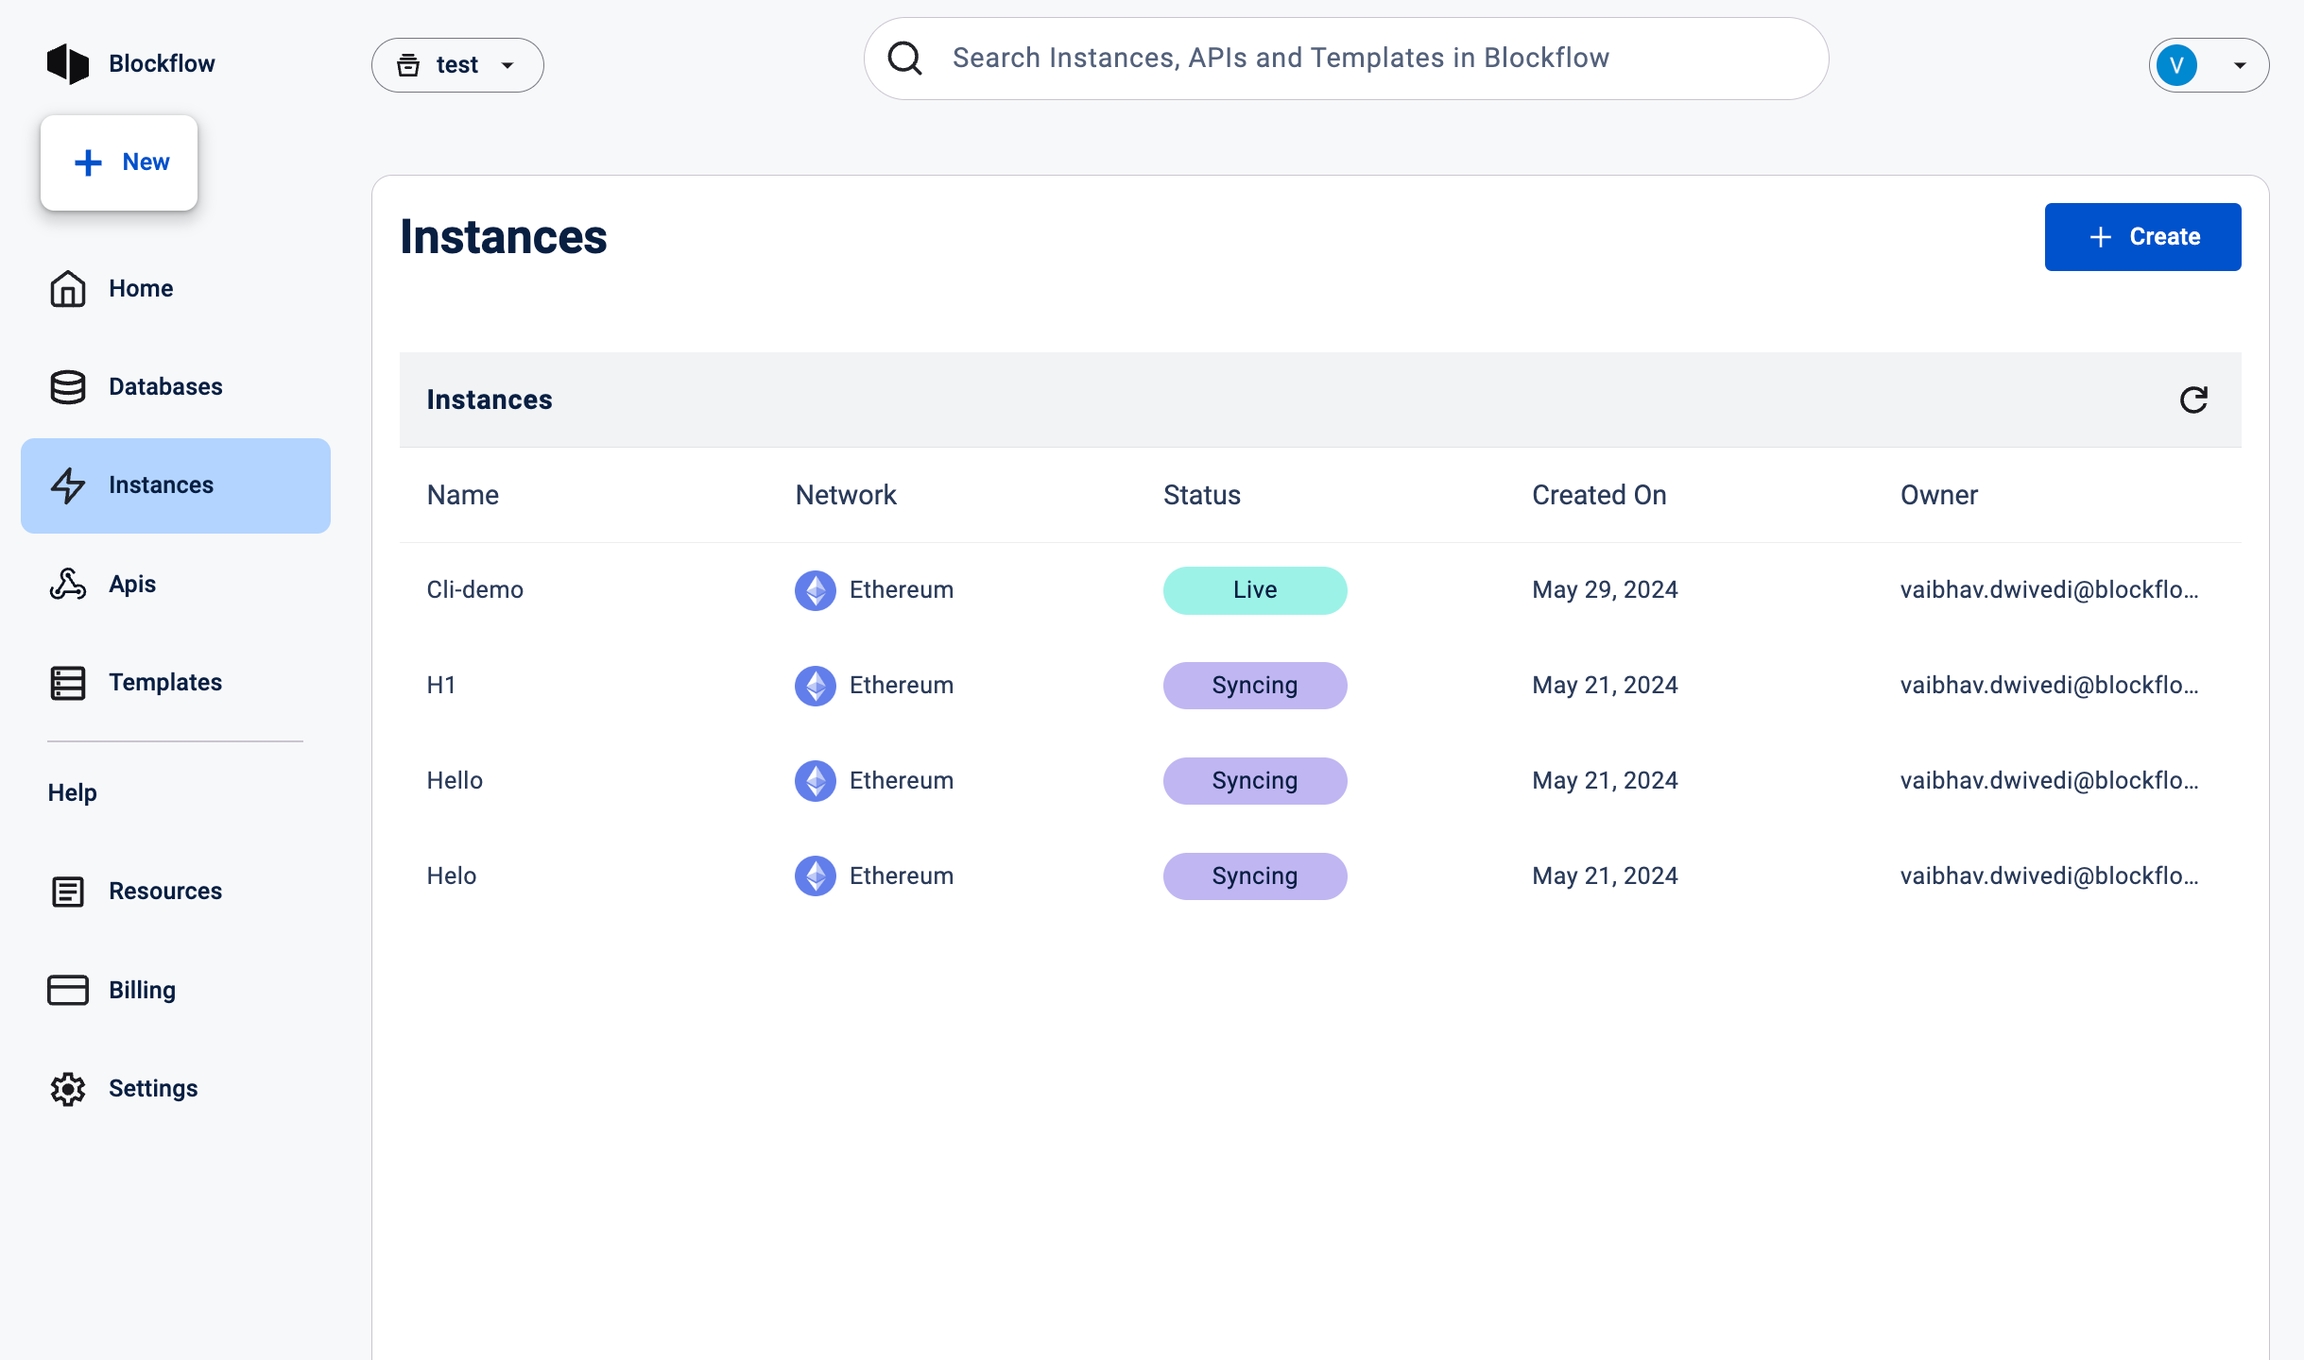
After running the blockflow deploy command, you can monitor the deployment status and progress through the Blockflow Console. Navigate to the "Instances" tab, where you'll find your recently deployed instance listed.

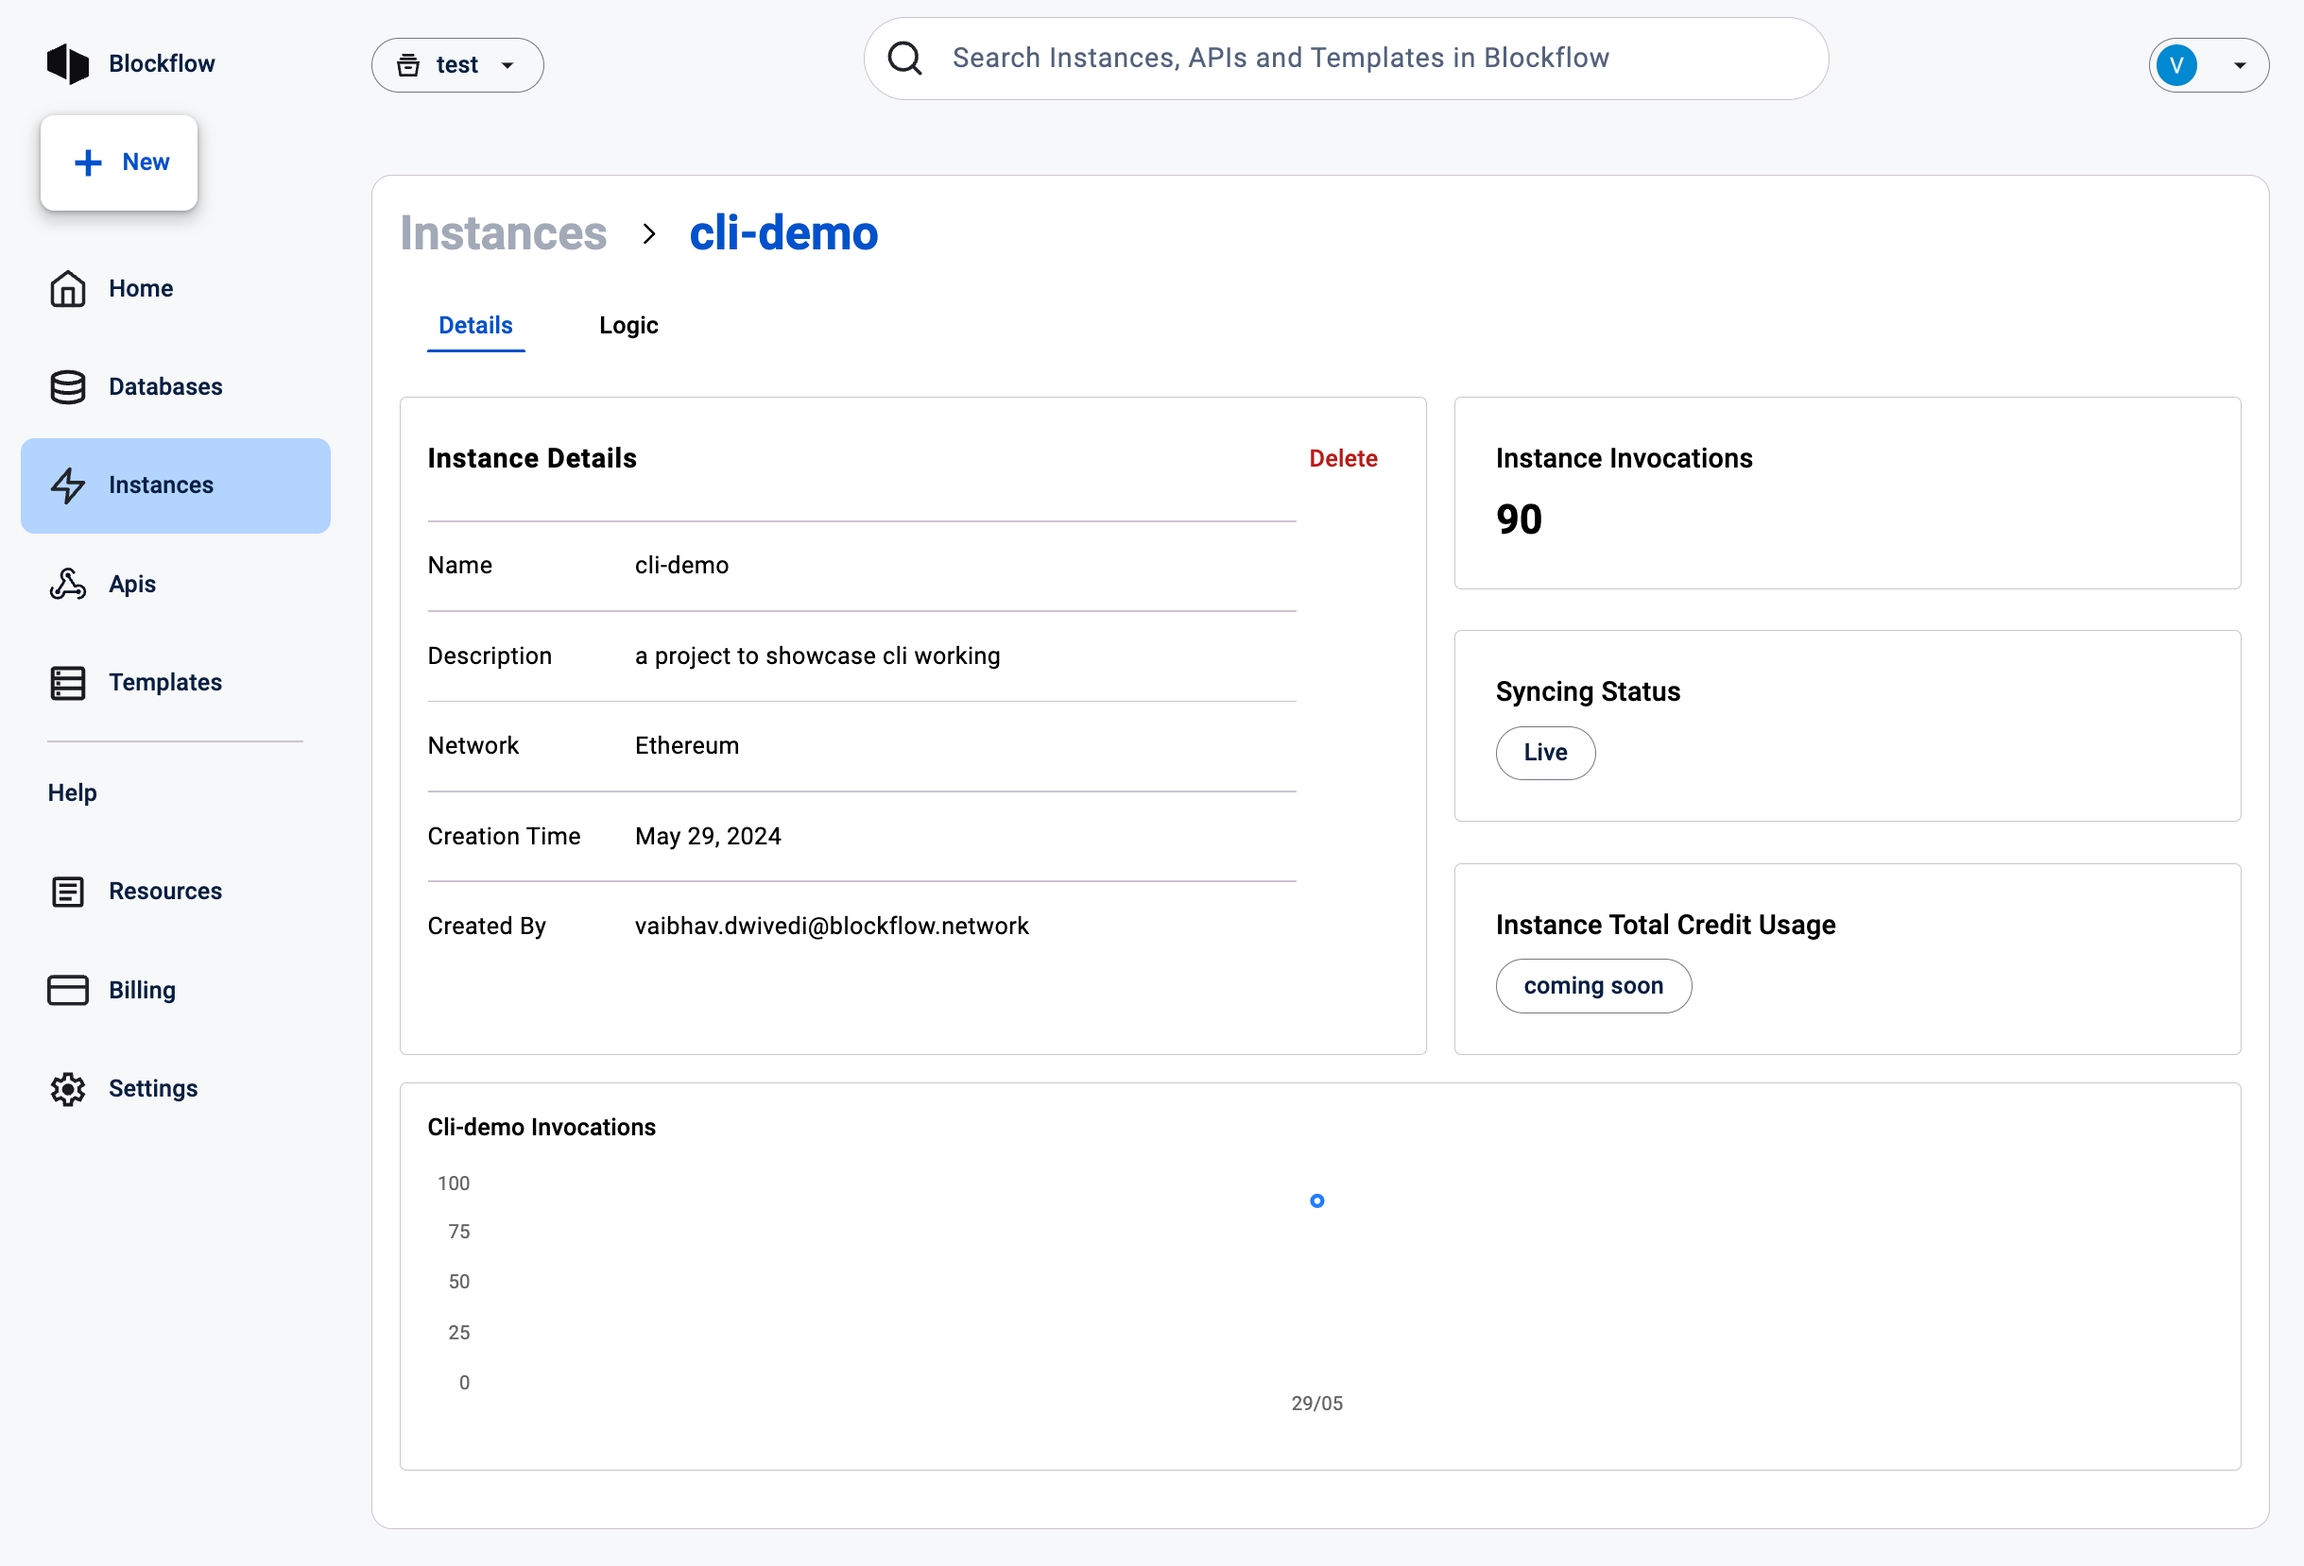
Click on your instance to access the detailed view, which provides information about the deployment status, number of invocations (indexing events), and other relevant metrics.
Ongoing Monitoring and Management
After the initial deployment, you can continue to monitor and manage your subgraph instance through the Blockflow Console.

The console provides tools and dashboards for tracking performance, analysing logs, and making configuration changes as needed.
Last updated