
Quickstart Guide
Once blockflow package is installed. Use this command to initialise project.
blockflow init
Ensure you're in an empty directory before running 'blockflow init'
This will open a command prompt where you can configure your project interactively.
Using Our Predefined Templates
During the blockflow init process, you’ll be prompted to choose whether you want to use a predefined template. If you choose Yes, the CLI will present you with a list of available templates.
Select a template: Choose the one that best suits your needs, and Blockflow will initialise the project based on that template.
Once initialised, you’ll have a project structure ready to go. Happy coding!
If you prefer to start from scratch, select No, and follow the steps below.
Setting up project from scratch
When you run the CLI, it will guide you through a series of prompts to gather essential information about your project. You'll be asked to provide details such as the project name, the blockchain network you want to target (chain), your Blockflow user ID, and the project ID. Once you've entered all the required information, the CLI will automatically generate and populate your project directory with the necessary files for indexing your project.
The process should look something like the image below:

To get your User ID and Project ID, you'll need an account on blockflow console. Refer to this documentation for help.
If you prefer, you can skip providing these details during the initial CLI setup. The CLI allows you to configure your User ID and Project ID at a later stage as well.
Selecting Trigger Type
A trigger specifies the conditions or events that will initiate the indexing process. CLI will prompt you to select the type of trigger you want to use for indexing the blockchain data. To read more about different triggers we support check this out.

For this quickstart tutorial, we will work with event based trigger type.
Indexing Contract
After selecting the trigger type, you'll be prompted to enter the contract address and name of the smart contract you wish to index.
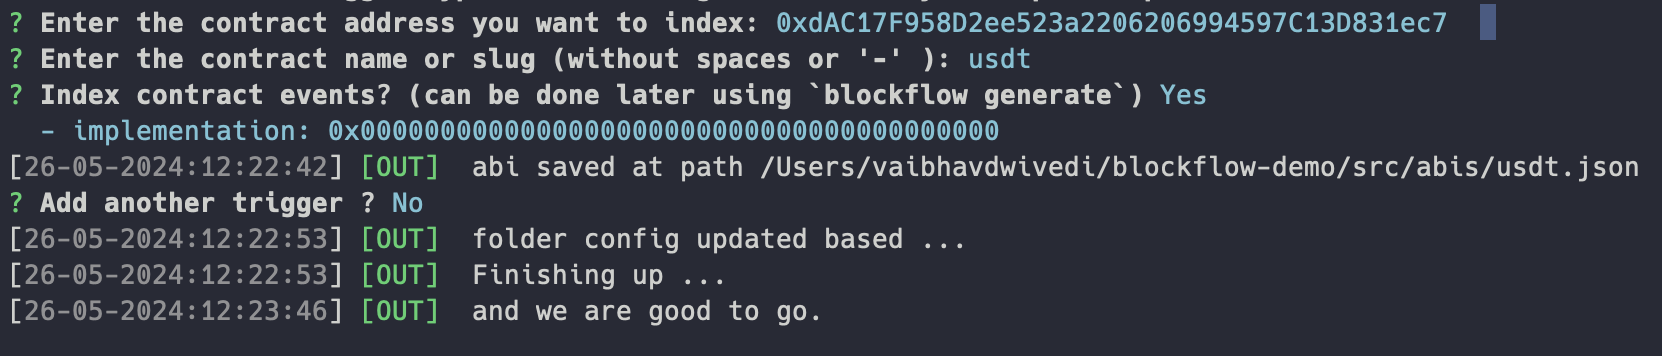
Once you've completed the configuration process for the desired triggers, the CLI will automatically generate and populate the project folder with the necessary boilerplate code. Open this folder in VSCode.
See the project structure docs for an overview of all the possible files and folders in your application.
Last updated