✈️Creating an API
Blockflow allows you to easily create APIs to expose your blockchain data and enable seamless integration with your applications. Follow this step-by-step guide to create an API on the Blockflow platform.
Accessing the API Creation Page
Log in to your Blockflow dashboard.
On the overview page, locate the navigation bar in the left column.
Click on the "APIs" tab in the navigation bar.
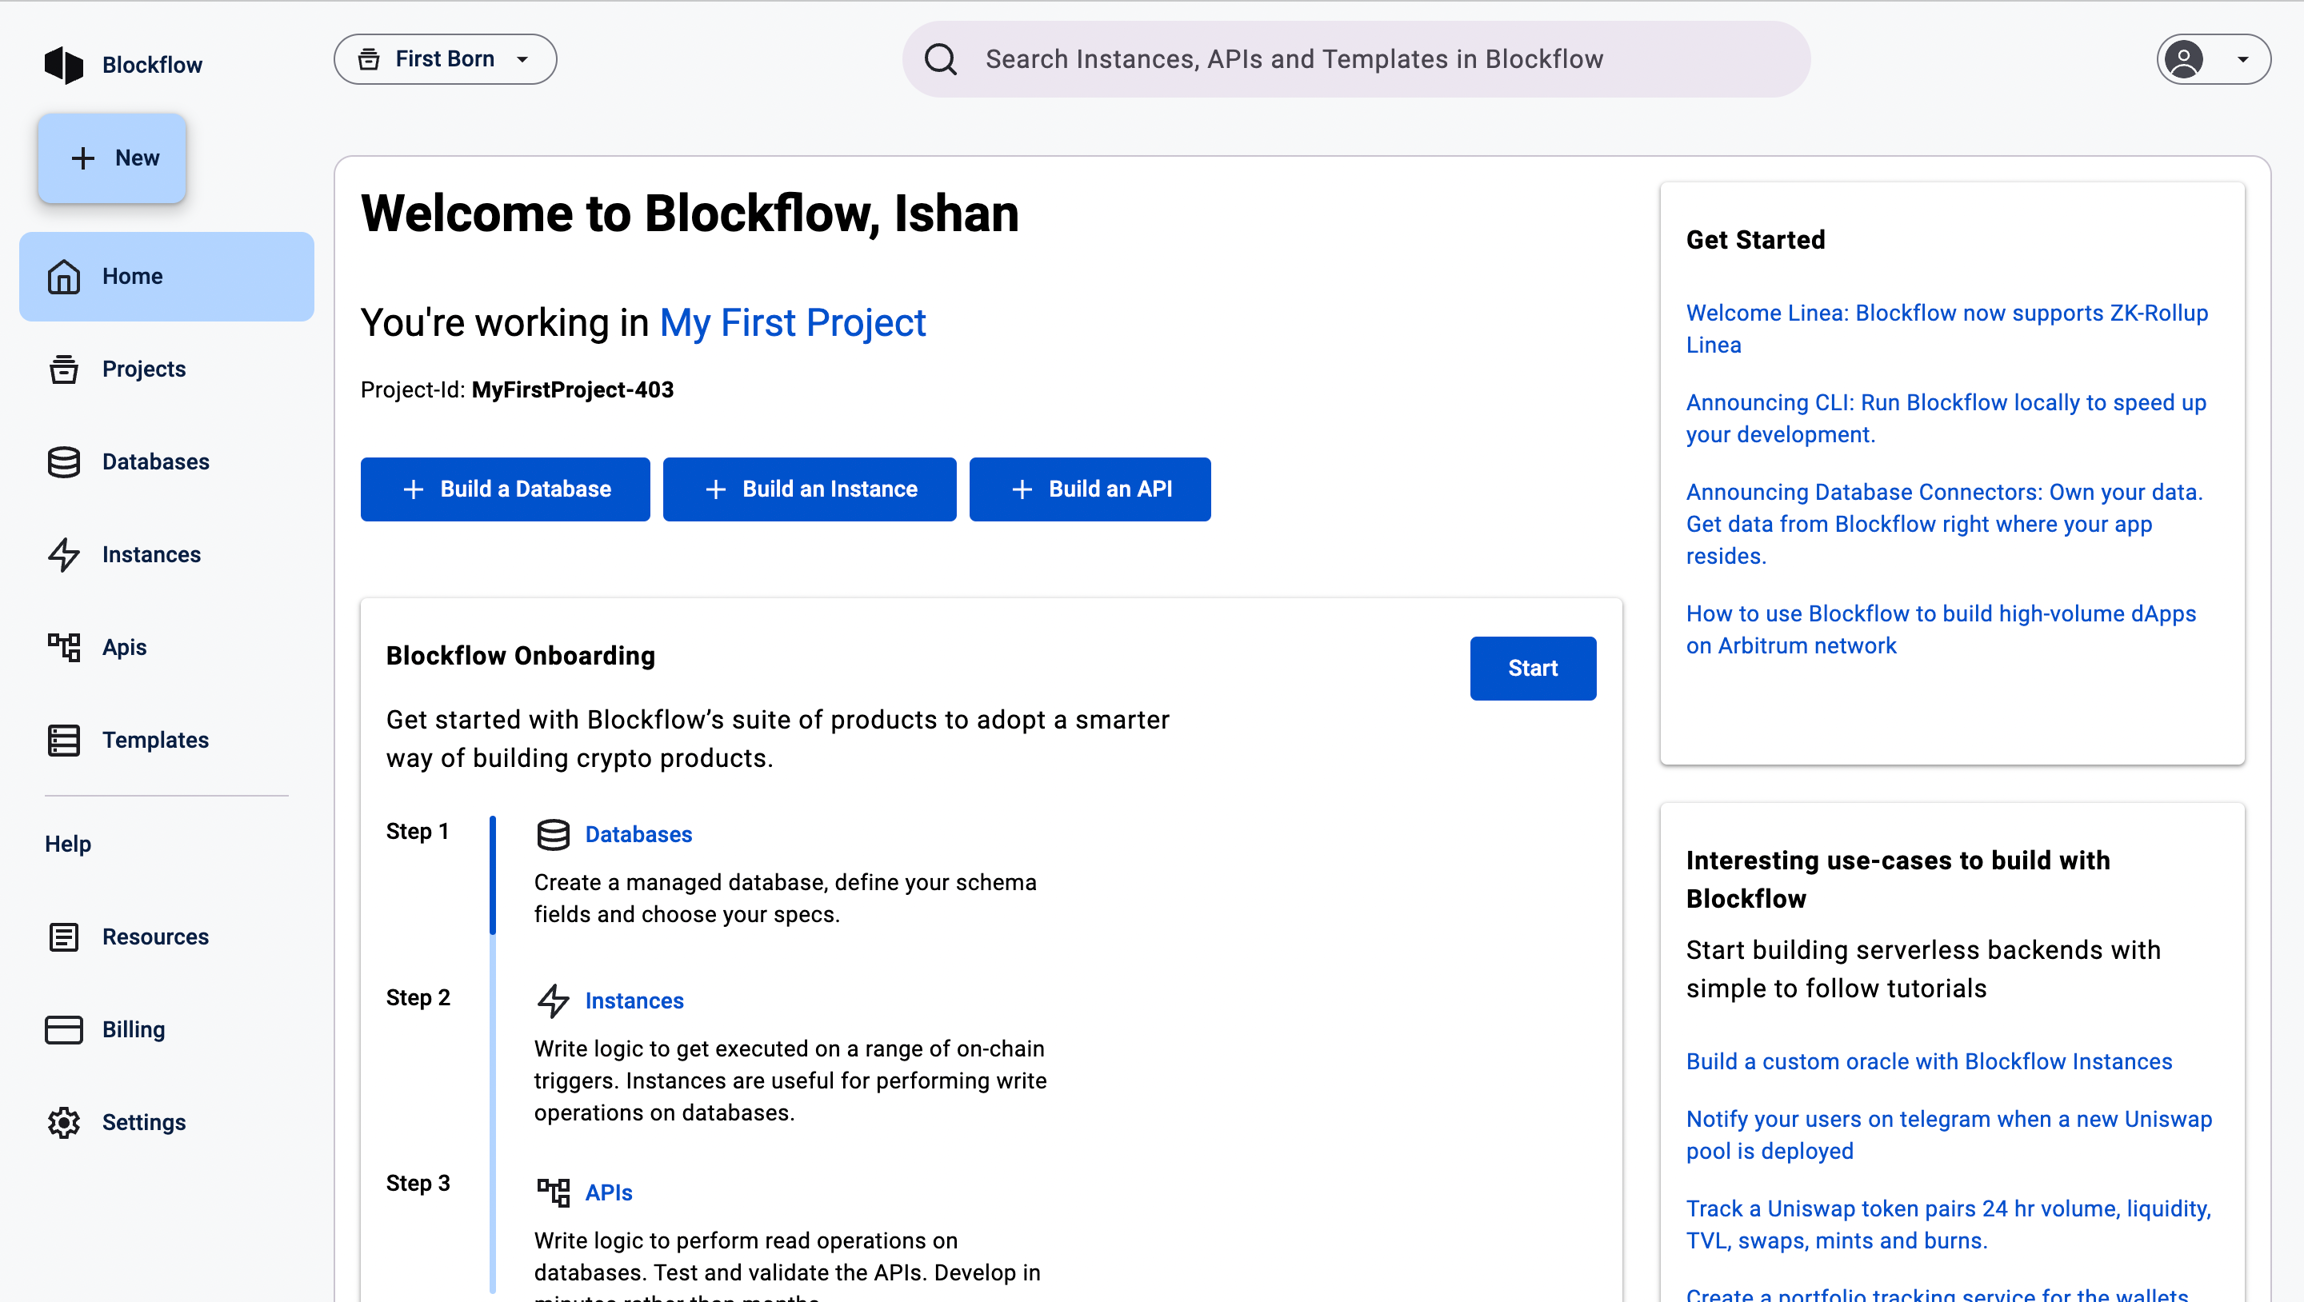
You will be redirected to the APIs section.
Click on the "Build an API" button to start creating a new API.
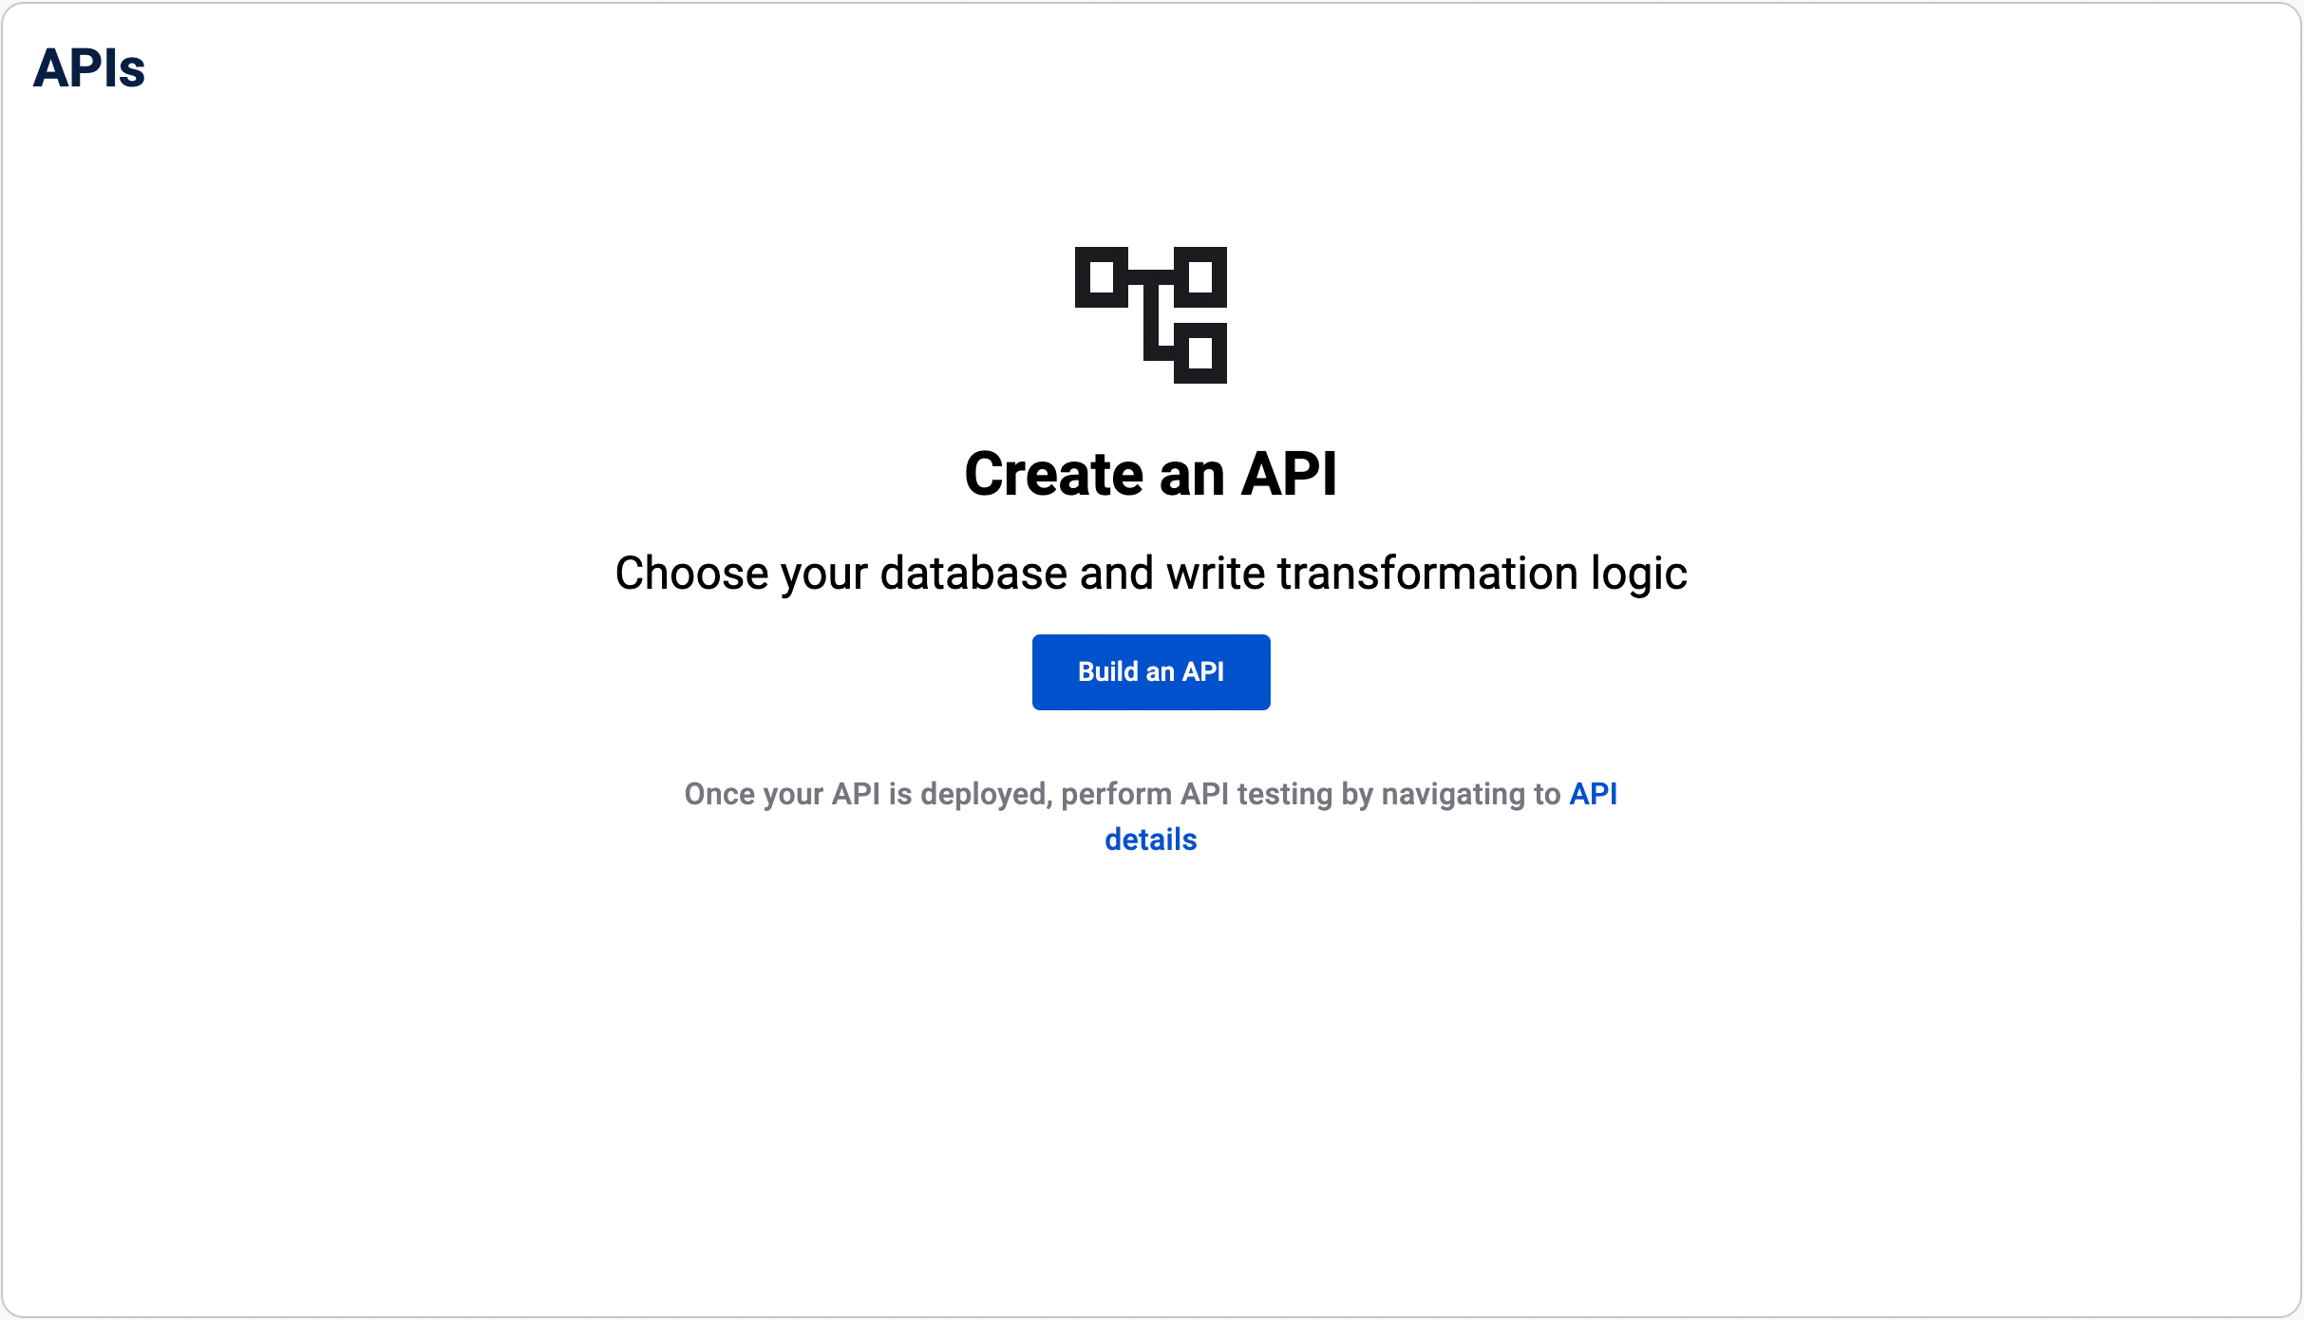
The API creation process involves three main steps:
Define Configurations
Select Databases
Write API Logic
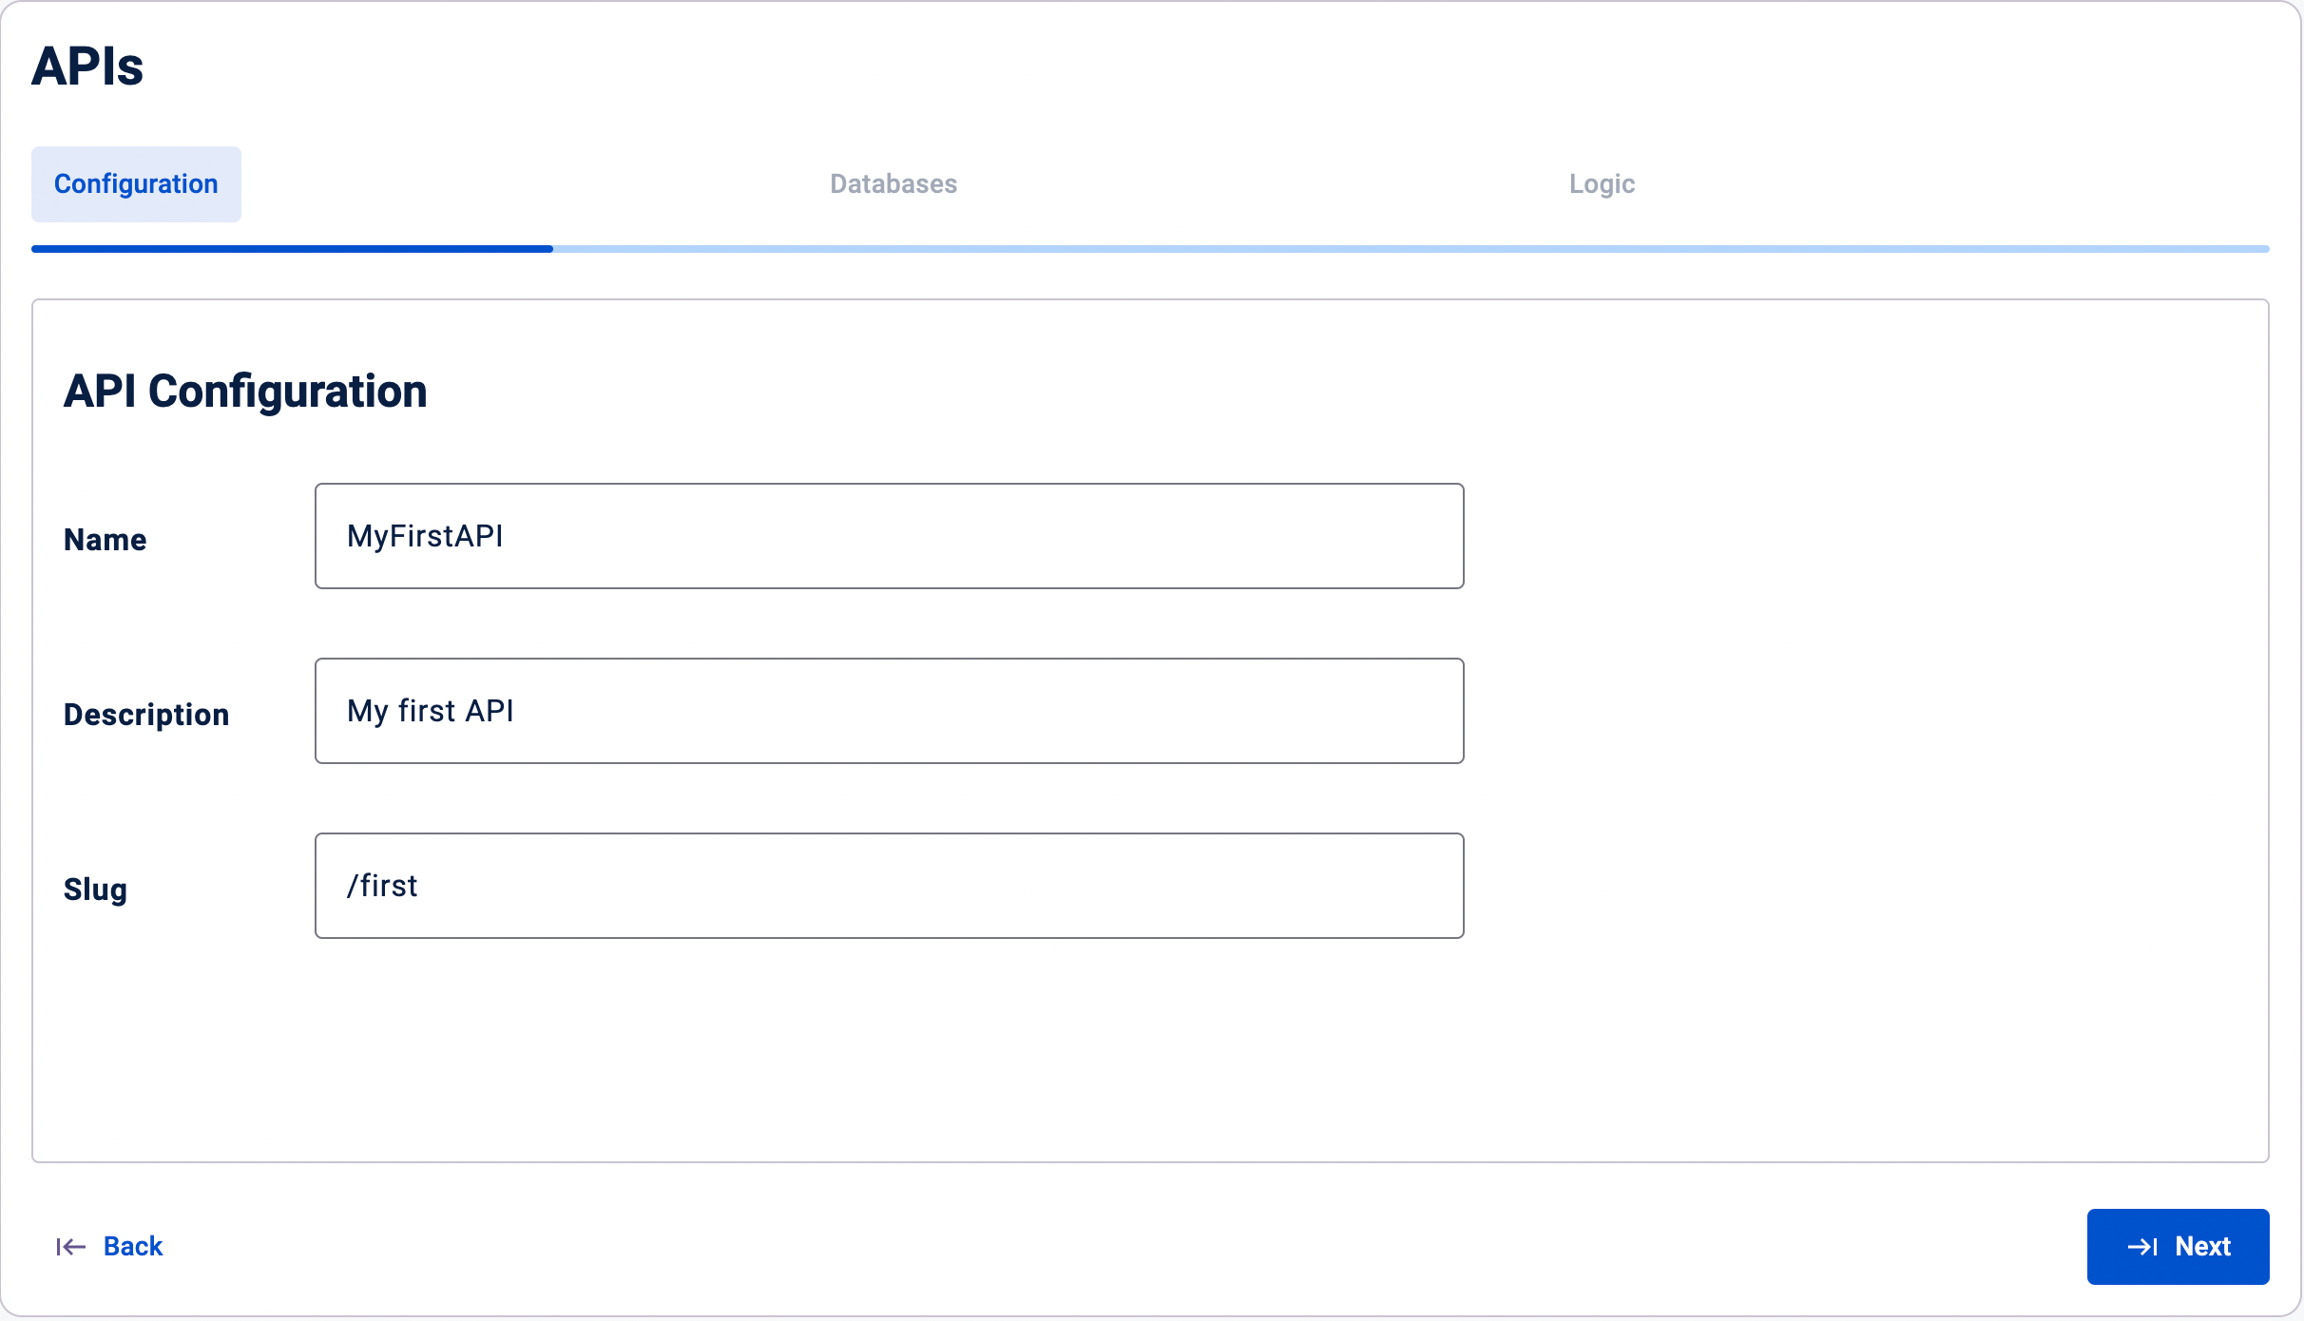
Step 1: Define API configurations
In this step, you will specify the basic settings and configurations for your API.
Name: Provide a unique and descriptive name for your API. The name should clearly reflect the purpose or functionality of the API. In the example image, the API name is set to "MyFirstAPI".
Description: Write a brief description of your API. This field helps you and other developers understand the purpose, functionality, and scope of the API. It's important to provide a clear and concise description that conveys the main aspects of your API. In the example, the description is set to "My first API".
Slug: Specify a slug for your API. The slug is a URL-friendly version of the API name and is used in the API endpoint URL. It should be lowercase, without spaces, and can include hyphens or underscores. In the example image, the slug is set to "/first".
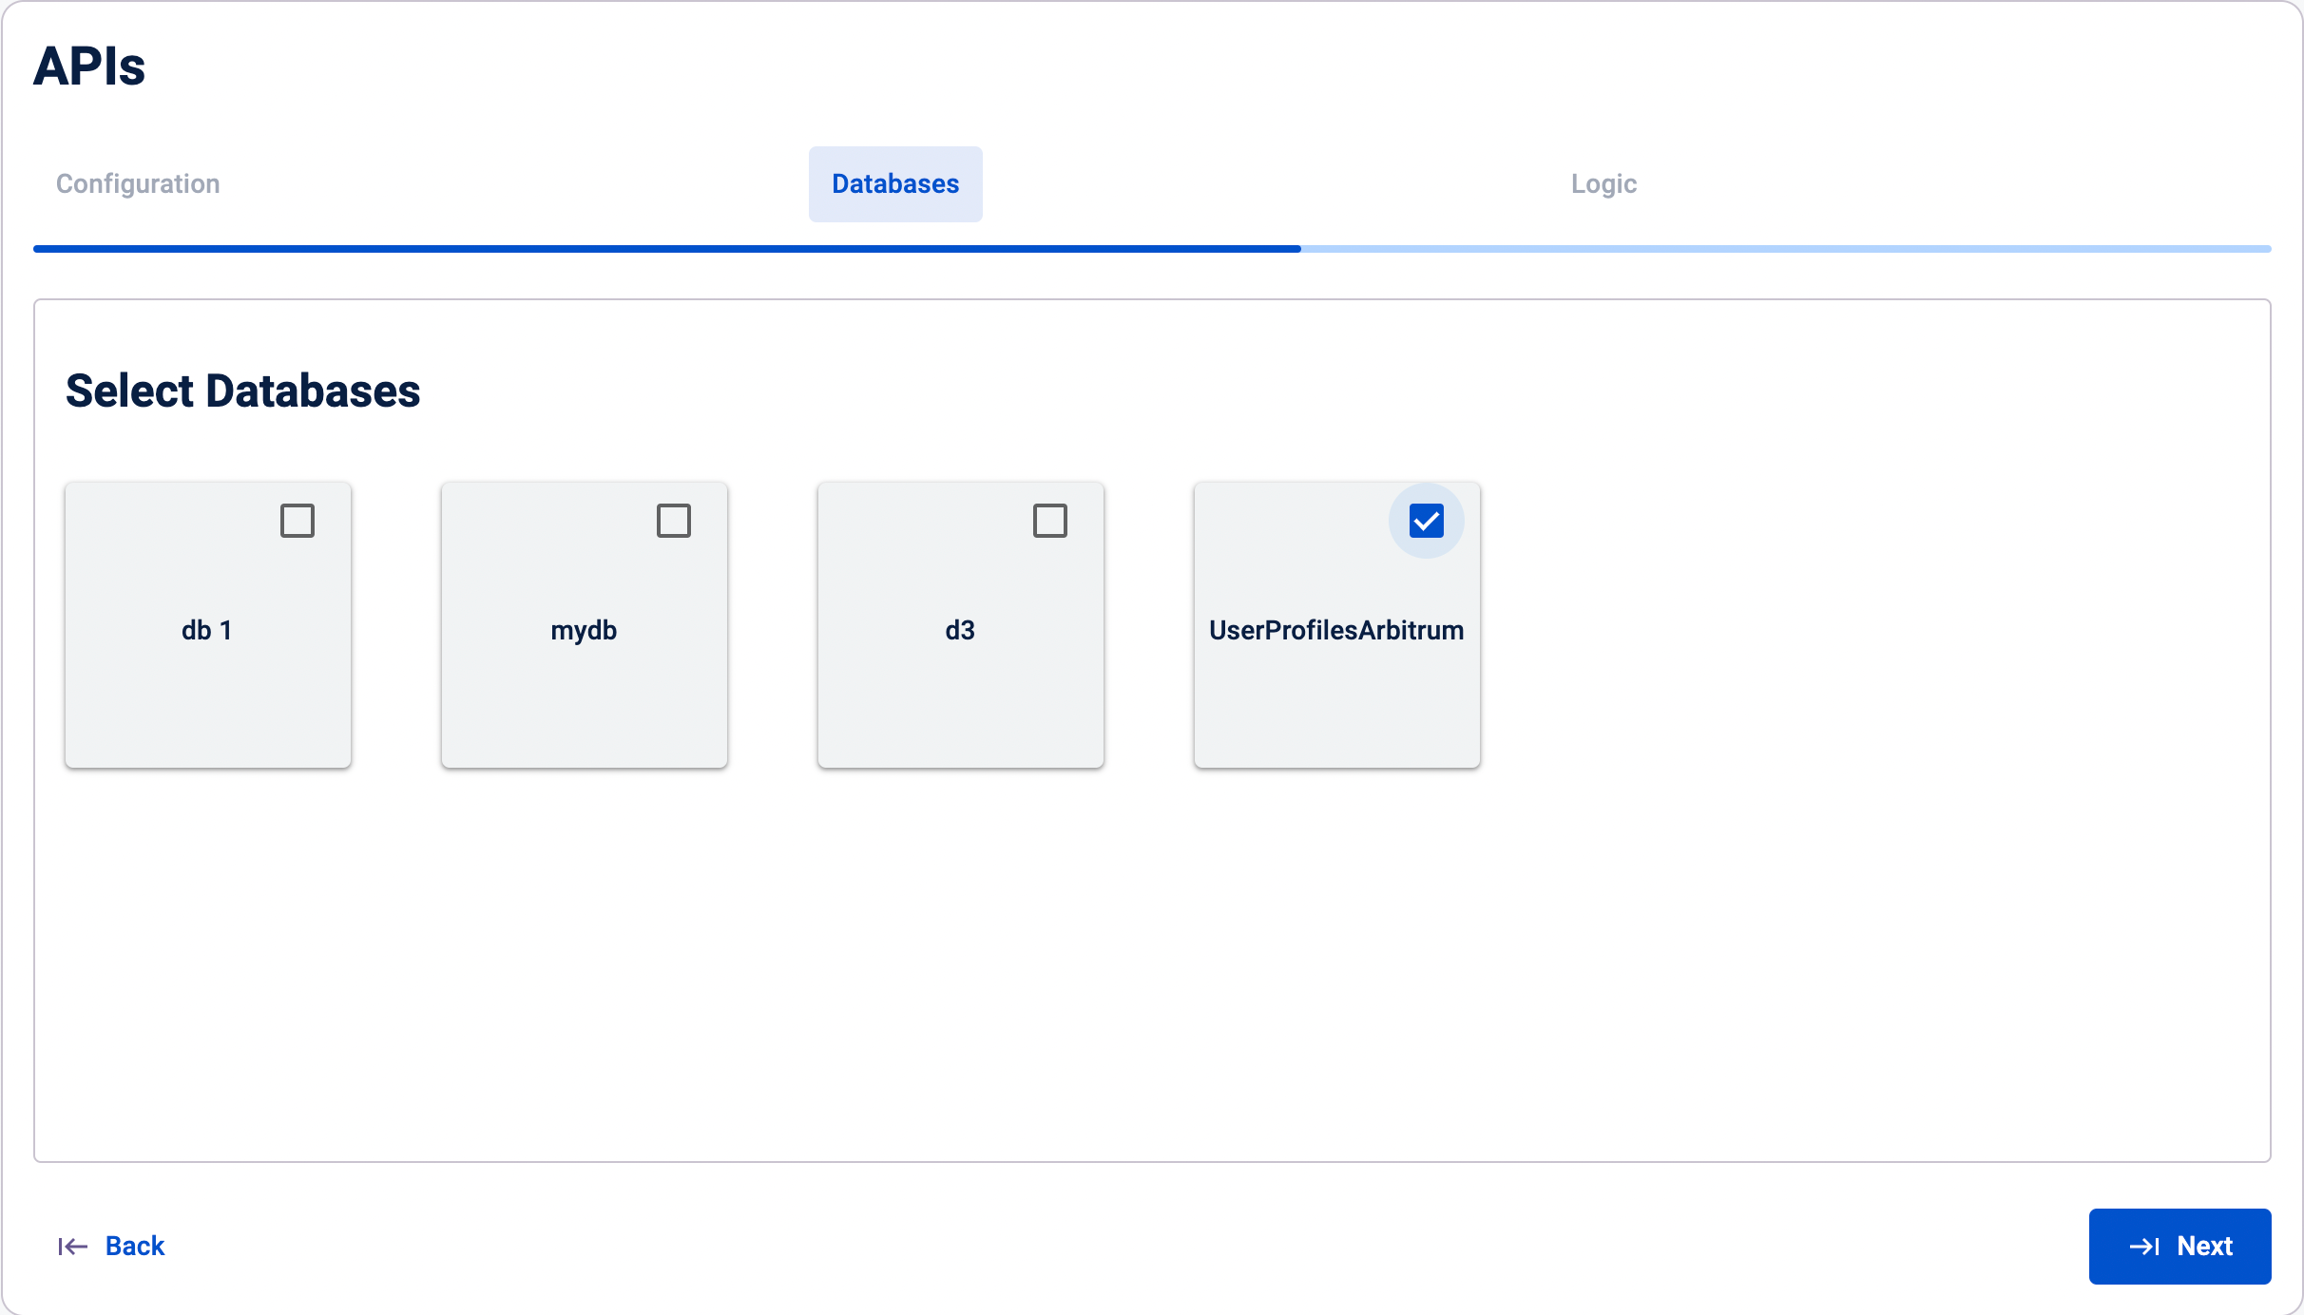
Step 2: Select Databases
In this step, you will select the databases that your API will interact with to generate responses.
Available Databases: Blockflow will display a list of databases associated with your account. These databases contain the blockchain data that you want to expose through your API.
Database Selection: Select the databases that your API needs to access. You can choose multiple databases if required. Consider the specific data sets and collections that your API will work with.
Step 3: Write API logics
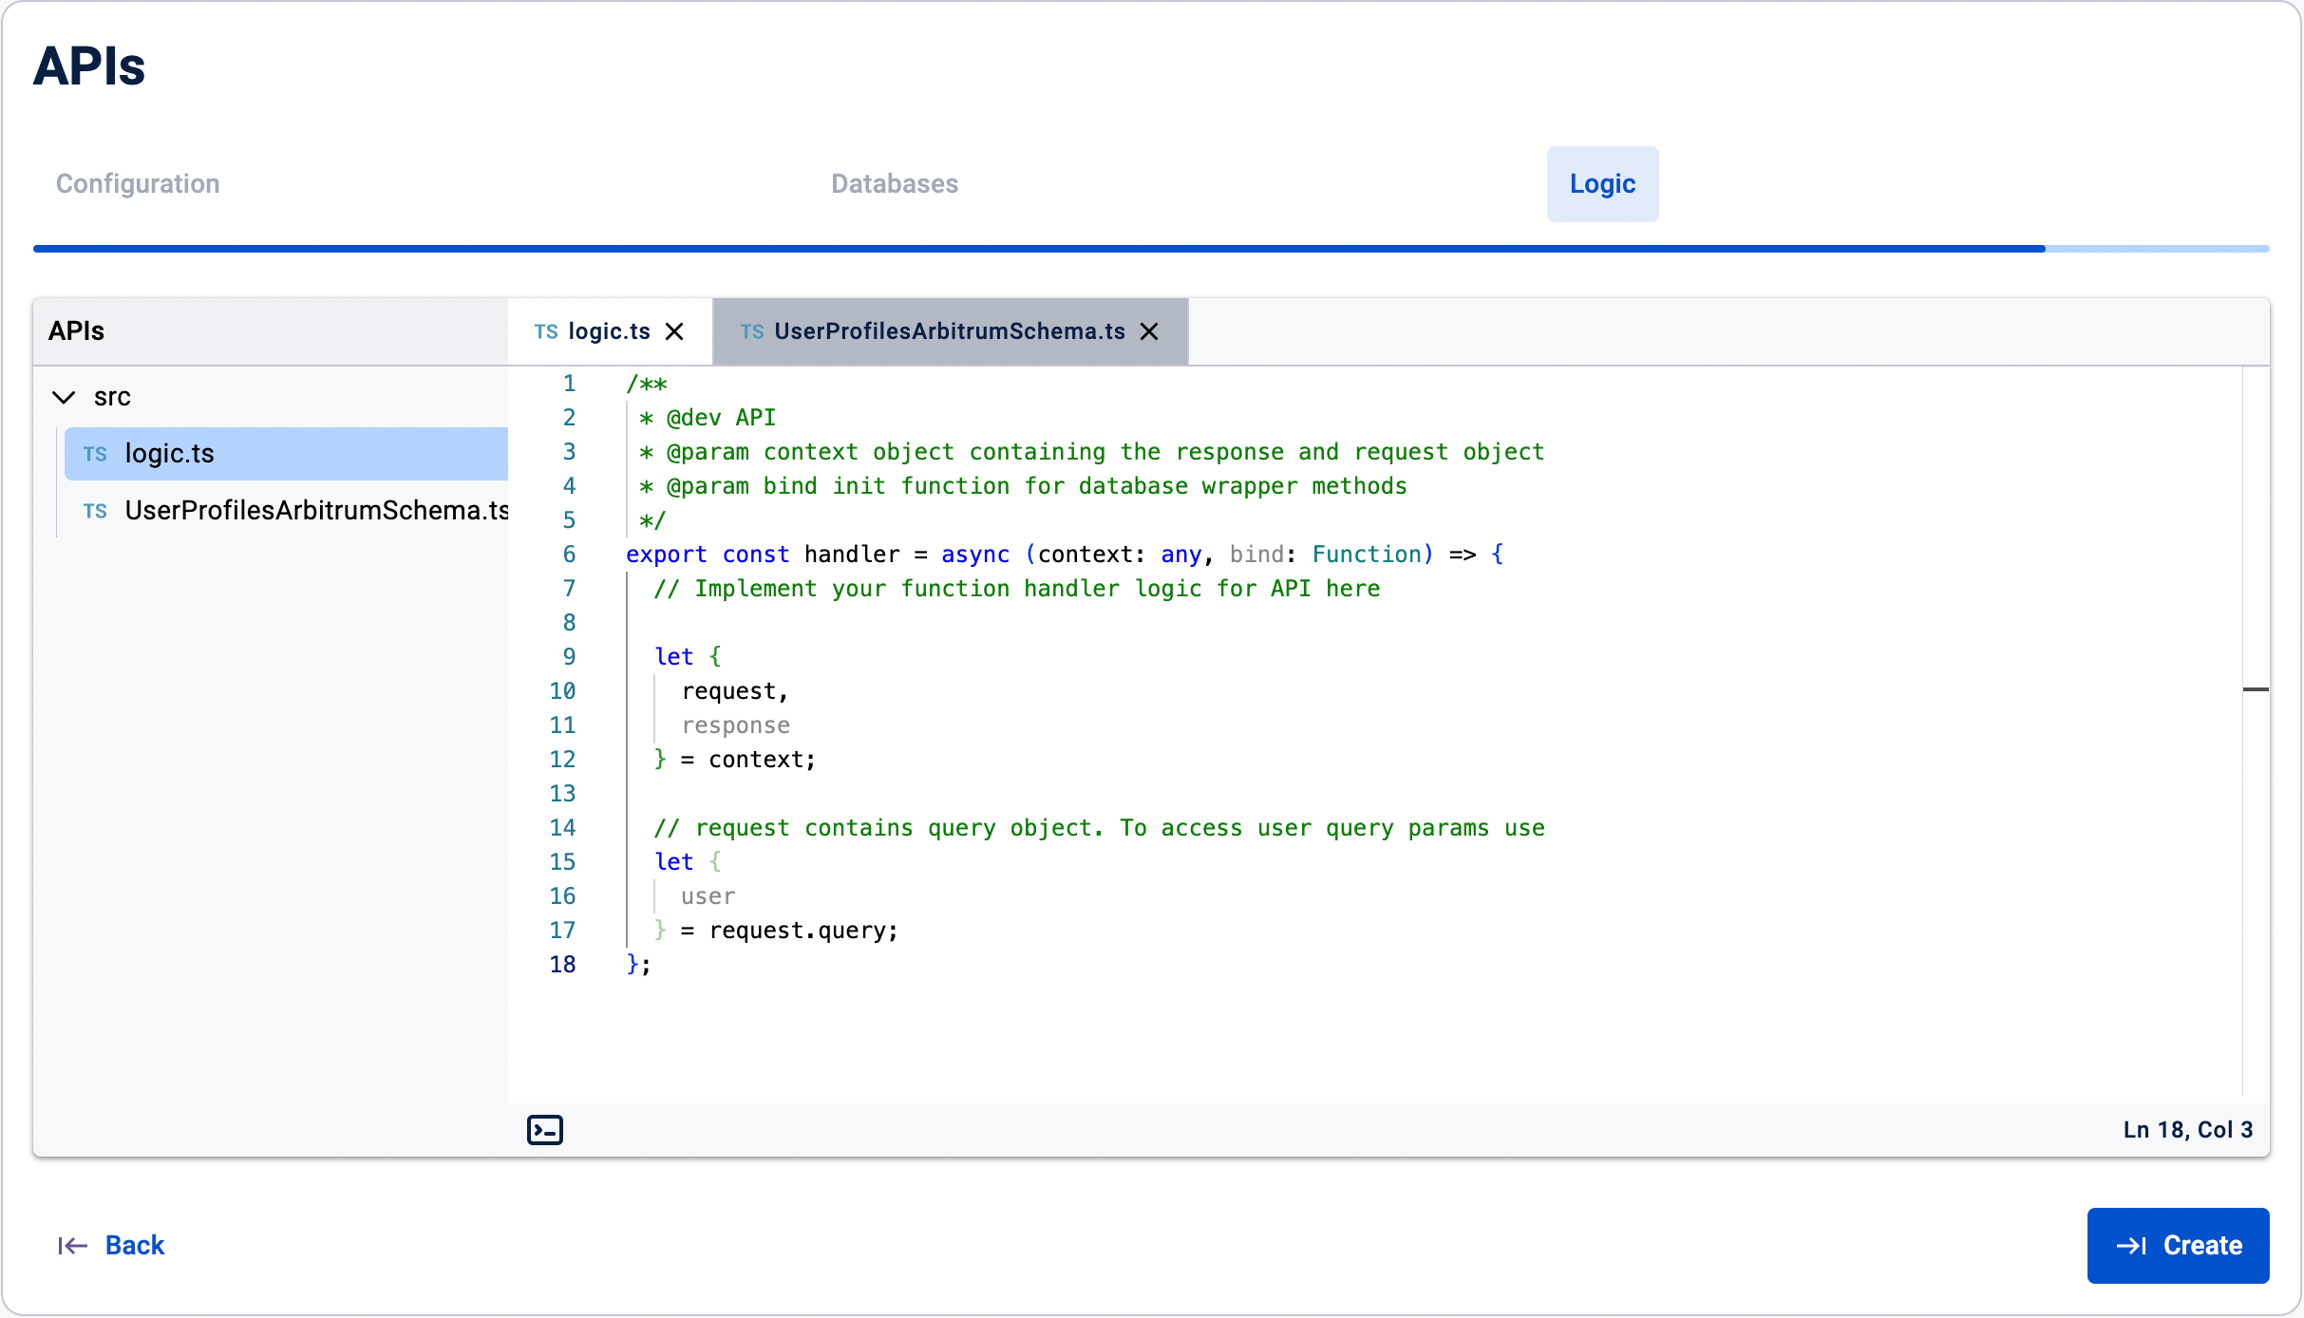
After selecting the databases, you will be directed to a code editor interface where you can define the logic for your API.
A VS Code like interface opens. With the following structure:
Code Editor: Blockflow provides a VS Code-like interface for writing your API logic. The editor is pre-configured with the necessary dependencies and libraries to interact with the selected databases.
API Logic File: The main file for defining your API logic is named
logic.ts. This is where you will write the TypeScript code to handle API requests, process data, and generate responses. Refer to this guide for detailed instructions on writing API logic.
Database Schema Files: For each selected database, Blockflow generates corresponding schema files. These files provide information about the structure and fields of the database collections. You can use these schema files as a reference while writing your API logic. The schemas are pre-imported in the
logic.tsfile, allowing you to use them directly in your code.
Testing and Debugging: Blockflow provides tools for testing and debugging your API logic. You can send test requests, view responses, and debug your code within the code editor interface. Refer to this guide for detailed instructions on Testing Blockflow APIs.
Deployment: Once you have written and tested your API logic, click on the "Create" button to deploy your API on the Blockflow platform. Blockflow will handle the necessary infrastructure setup and provide you with an API endpoint that you can use to access your API.
Monitoring and Analytics: Blockflow provides monitoring and analytics features to track the usage and performance of your API. You can access real-time metrics, such as request count, response times, and error rates, through the Blockflow dashboard by going into the deployed API details!
Creating an API on Blockflow is a simple and efficient process. By following the steps outlined in this guide, you can define configurations, select databases, and write API logic to expose your blockchain data through a well-defined API.
Blockflow handles the infrastructure and deployment aspects, allowing you to focus on designing and implementing your API functionality.
If you have any further questions or need assistance with creating an API, reach out to our support team via Discord.
Start building powerful APIs on Blockflow today and unlock the potential of your blockchain data!