🚄Creating an Instance
Instances are powerful tools that allow you to automate workflows, stream data and perform actions based on specific triggers from blockchain events. Follow this step-by-step guide to create an Instance on the Blockflow platform.
Accessing the Instance Creation Page
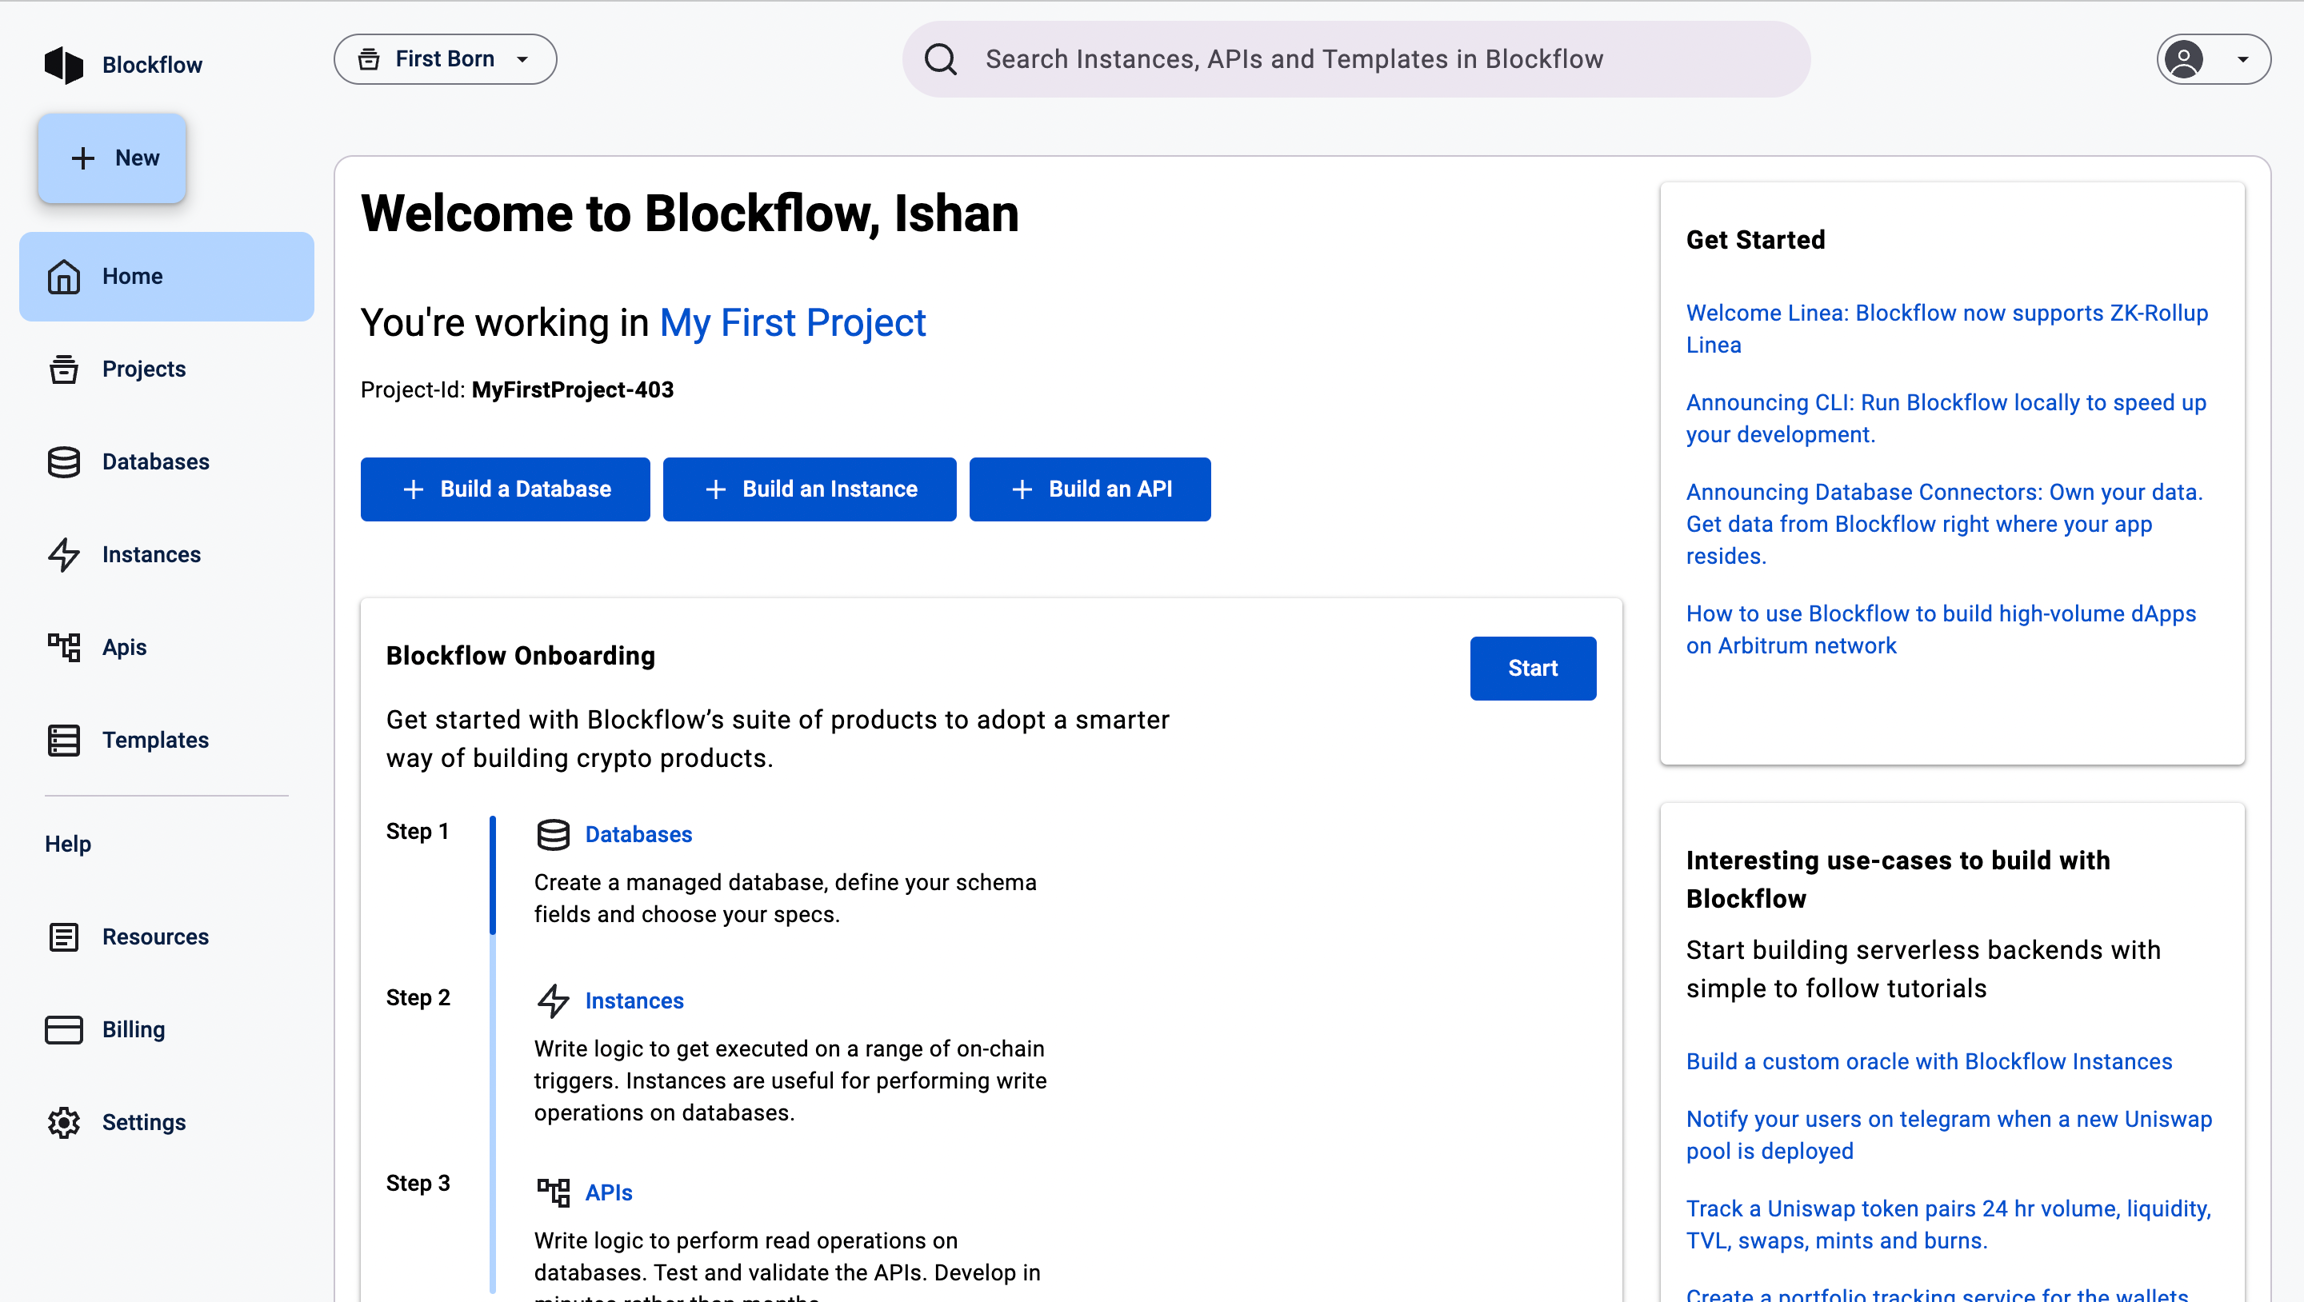
Log in to your Blockflow dashboard.
On the overview page, locate the navigation bar in the left column.
Click on the "Instances" tab in the navigation bar.
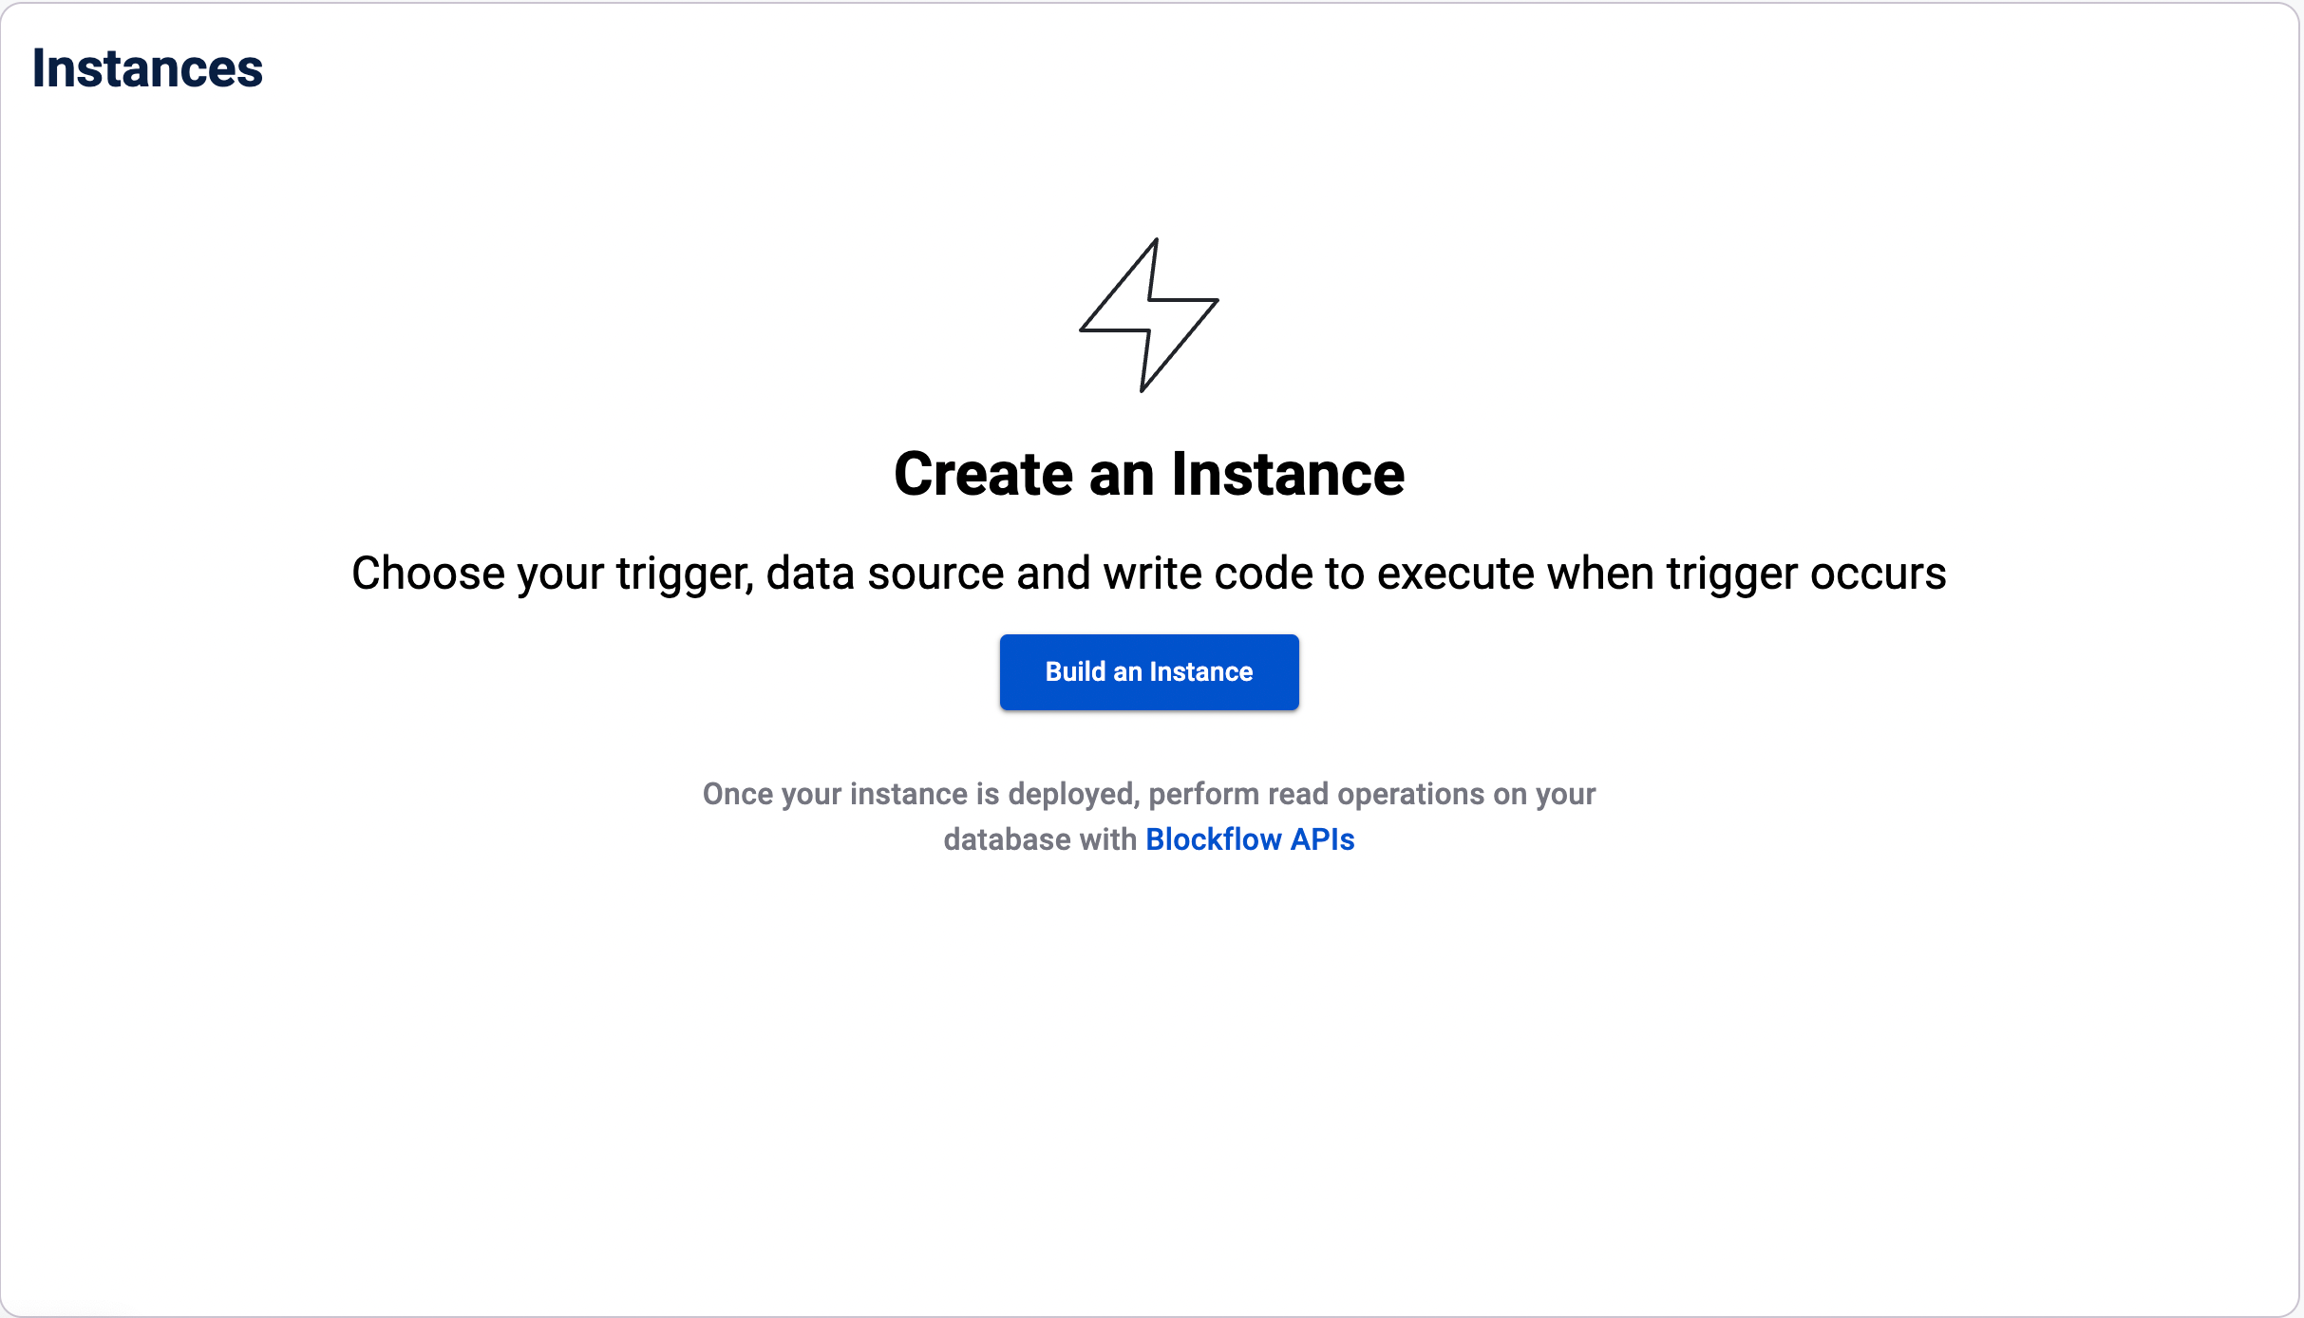
You will be redirected to the Instances section.
Click on the "Build an Instance" button to start creating a new Instance.
The process of building an Instance involves 4 steps:
Define configurations
Add Triggers
Define Actions for each Trigger
Define Start block
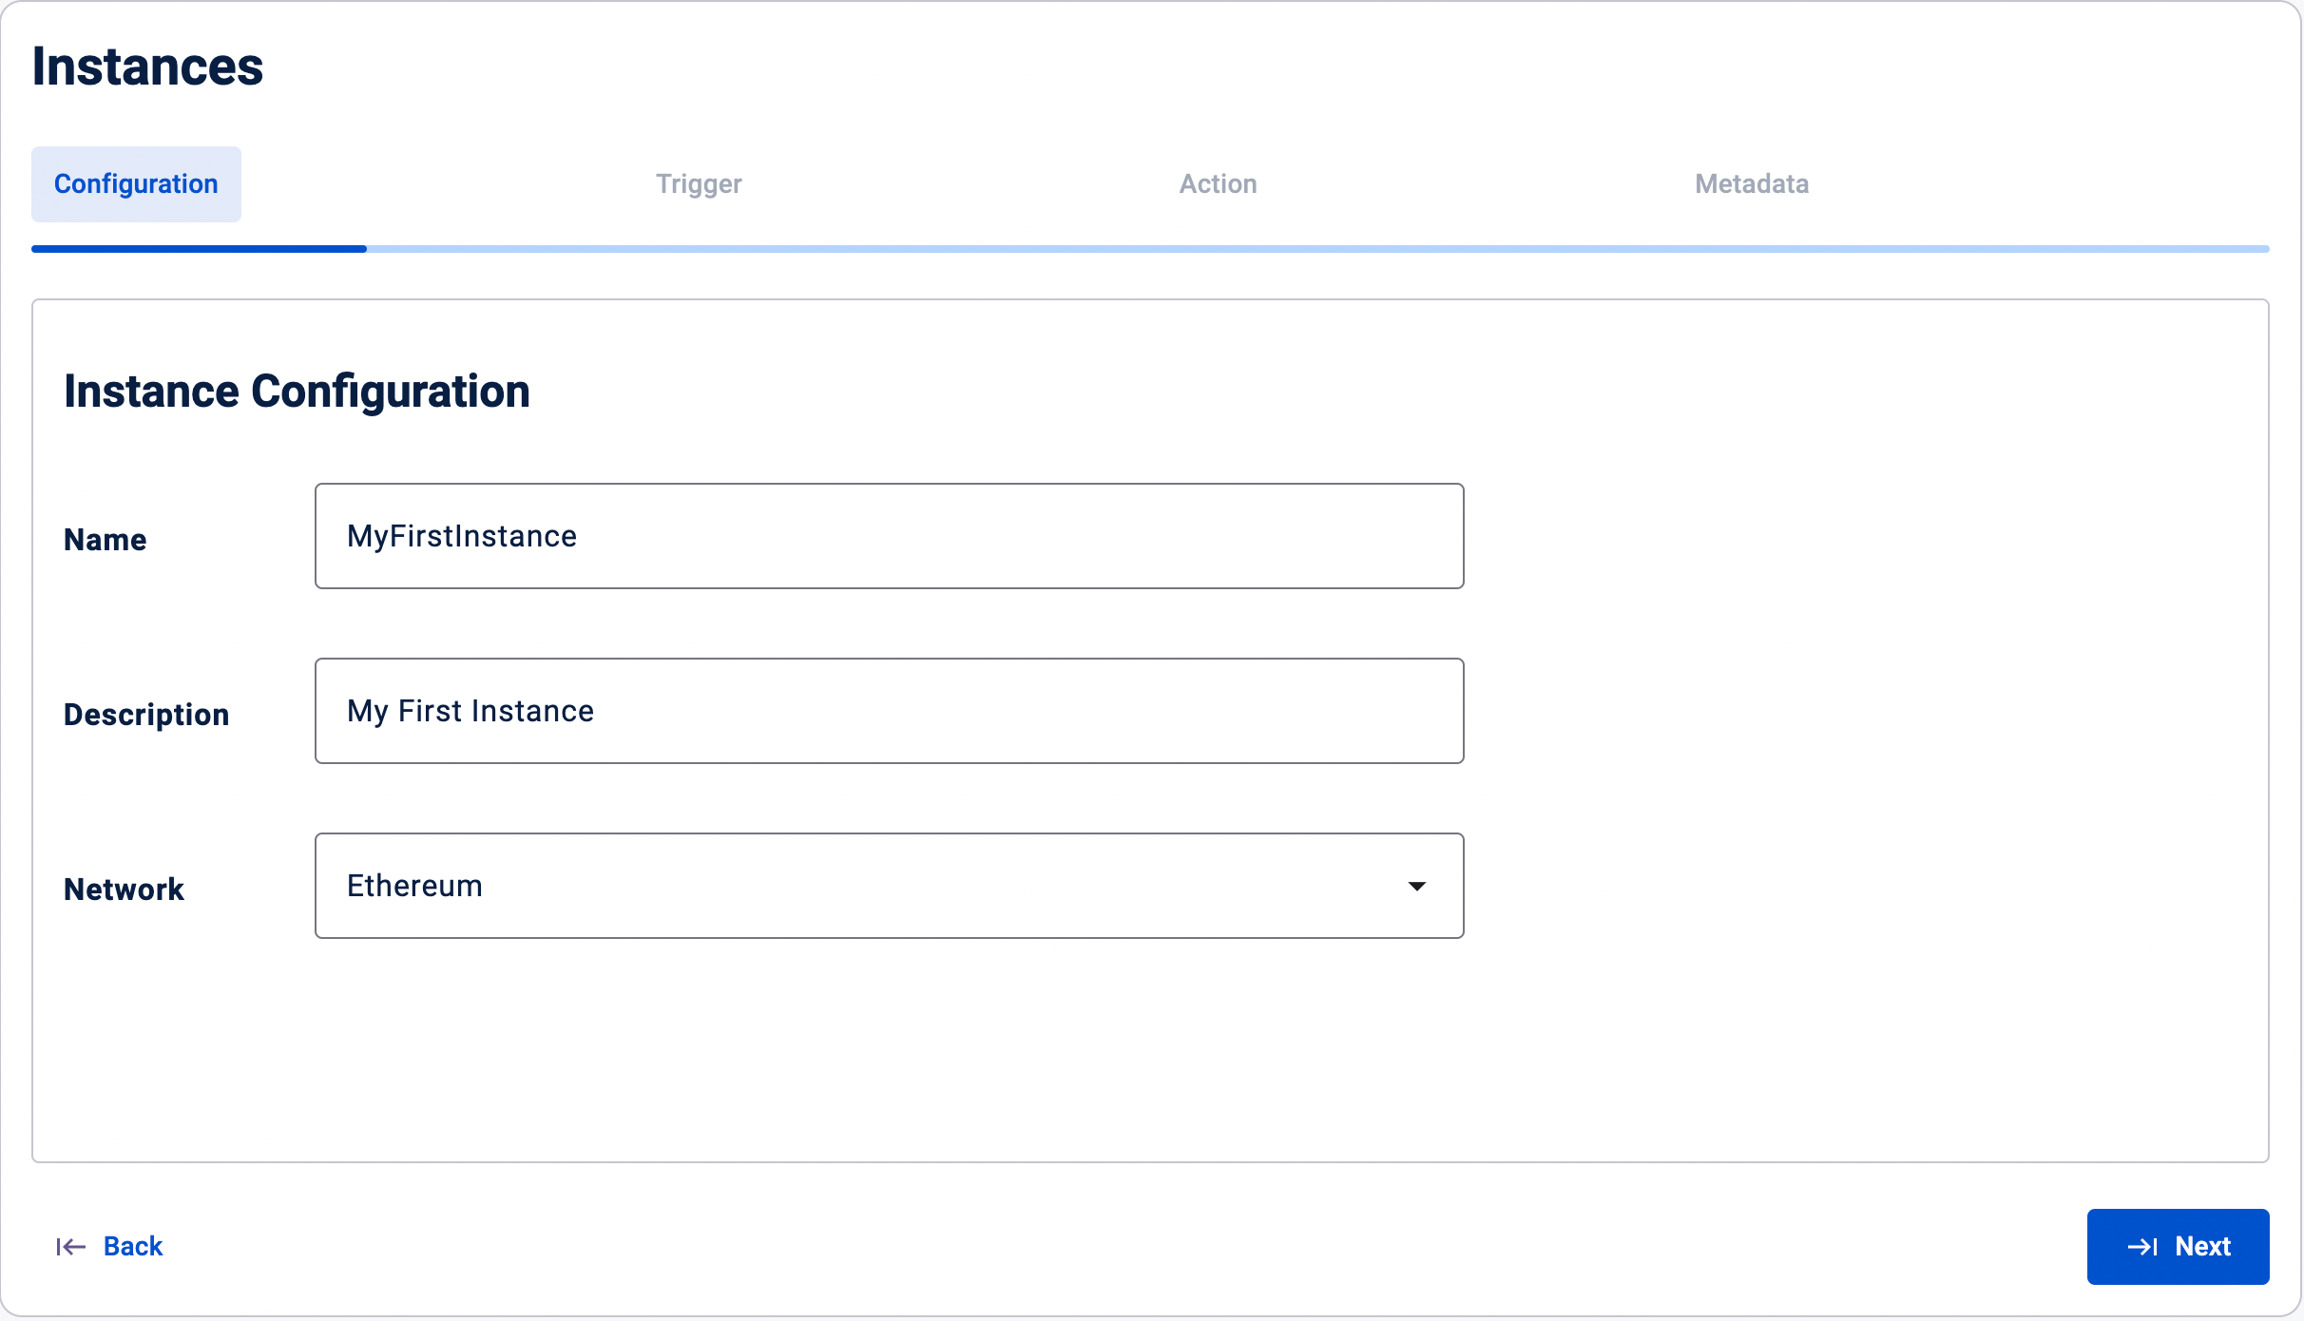
Step 1: Define configurations
In this step, you will specify the basic settings and configurations for your Instance.
Name: Choose a meaningful name for your Instance. The name should not contain spaces.
Description: Provide a brief description of your Instance. This field is for reference purposes and helps you and your team understand the purpose of the Instance.
Network: Select the blockchain network on which your Instance will operate.
Step 2: Add Triggers
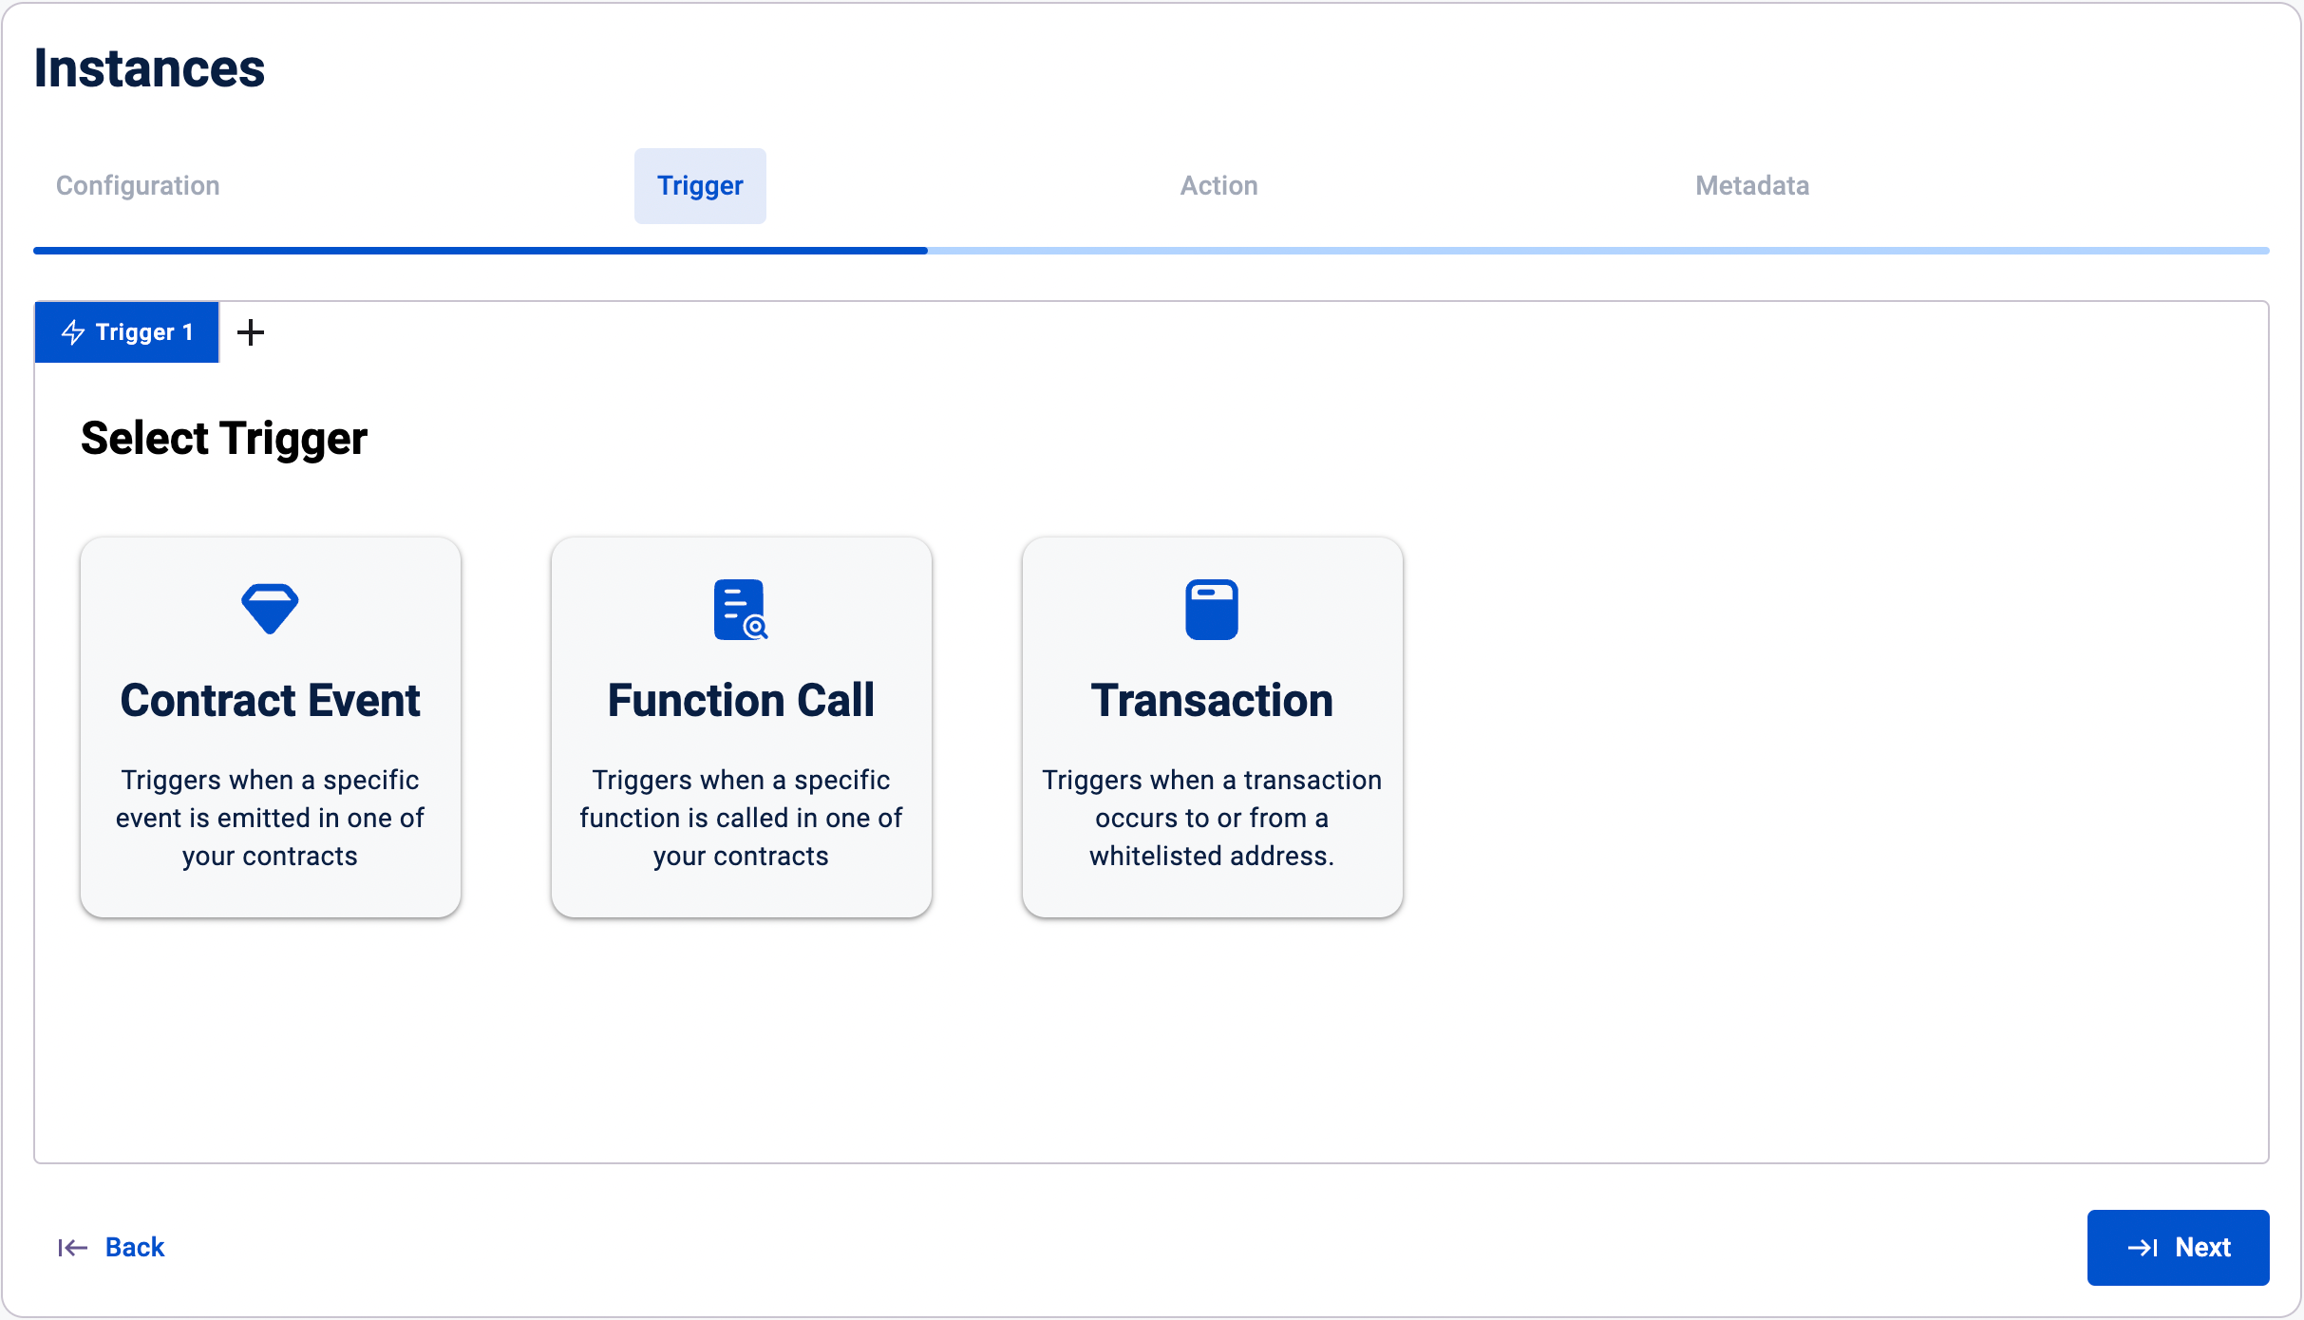
Triggers define the specific events or conditions that will activate your Instance. Blockflow supports various types of triggers:
Smart Contract Events: Trigger an action when a specific event is emitted by a smart contract.
Smart Contract Function Calls: Execute an action when a particular function in a smart contract is called.
Transactions to an Address: Trigger an action when a transaction is sent to a specific address.
Defining configurations for triggers involve:
Selecting Trigger Type: Select the desired trigger type from the cards. We're choosing contract event.
Define Trigger (Contract Event):
Contract Address: Enter the address of the smart contract you want to monitor for events.
Contract Name: Provide a name for the smart contract. This is for reference purposes.
ABI: Click on the "Fetch ABI" button to automatically retrieve the contract's ABI. If the automatic fetching fails, you can manually copy and paste the ABI.
Event Selection: Select the specific event(s) from the contract that you want to use as triggers.
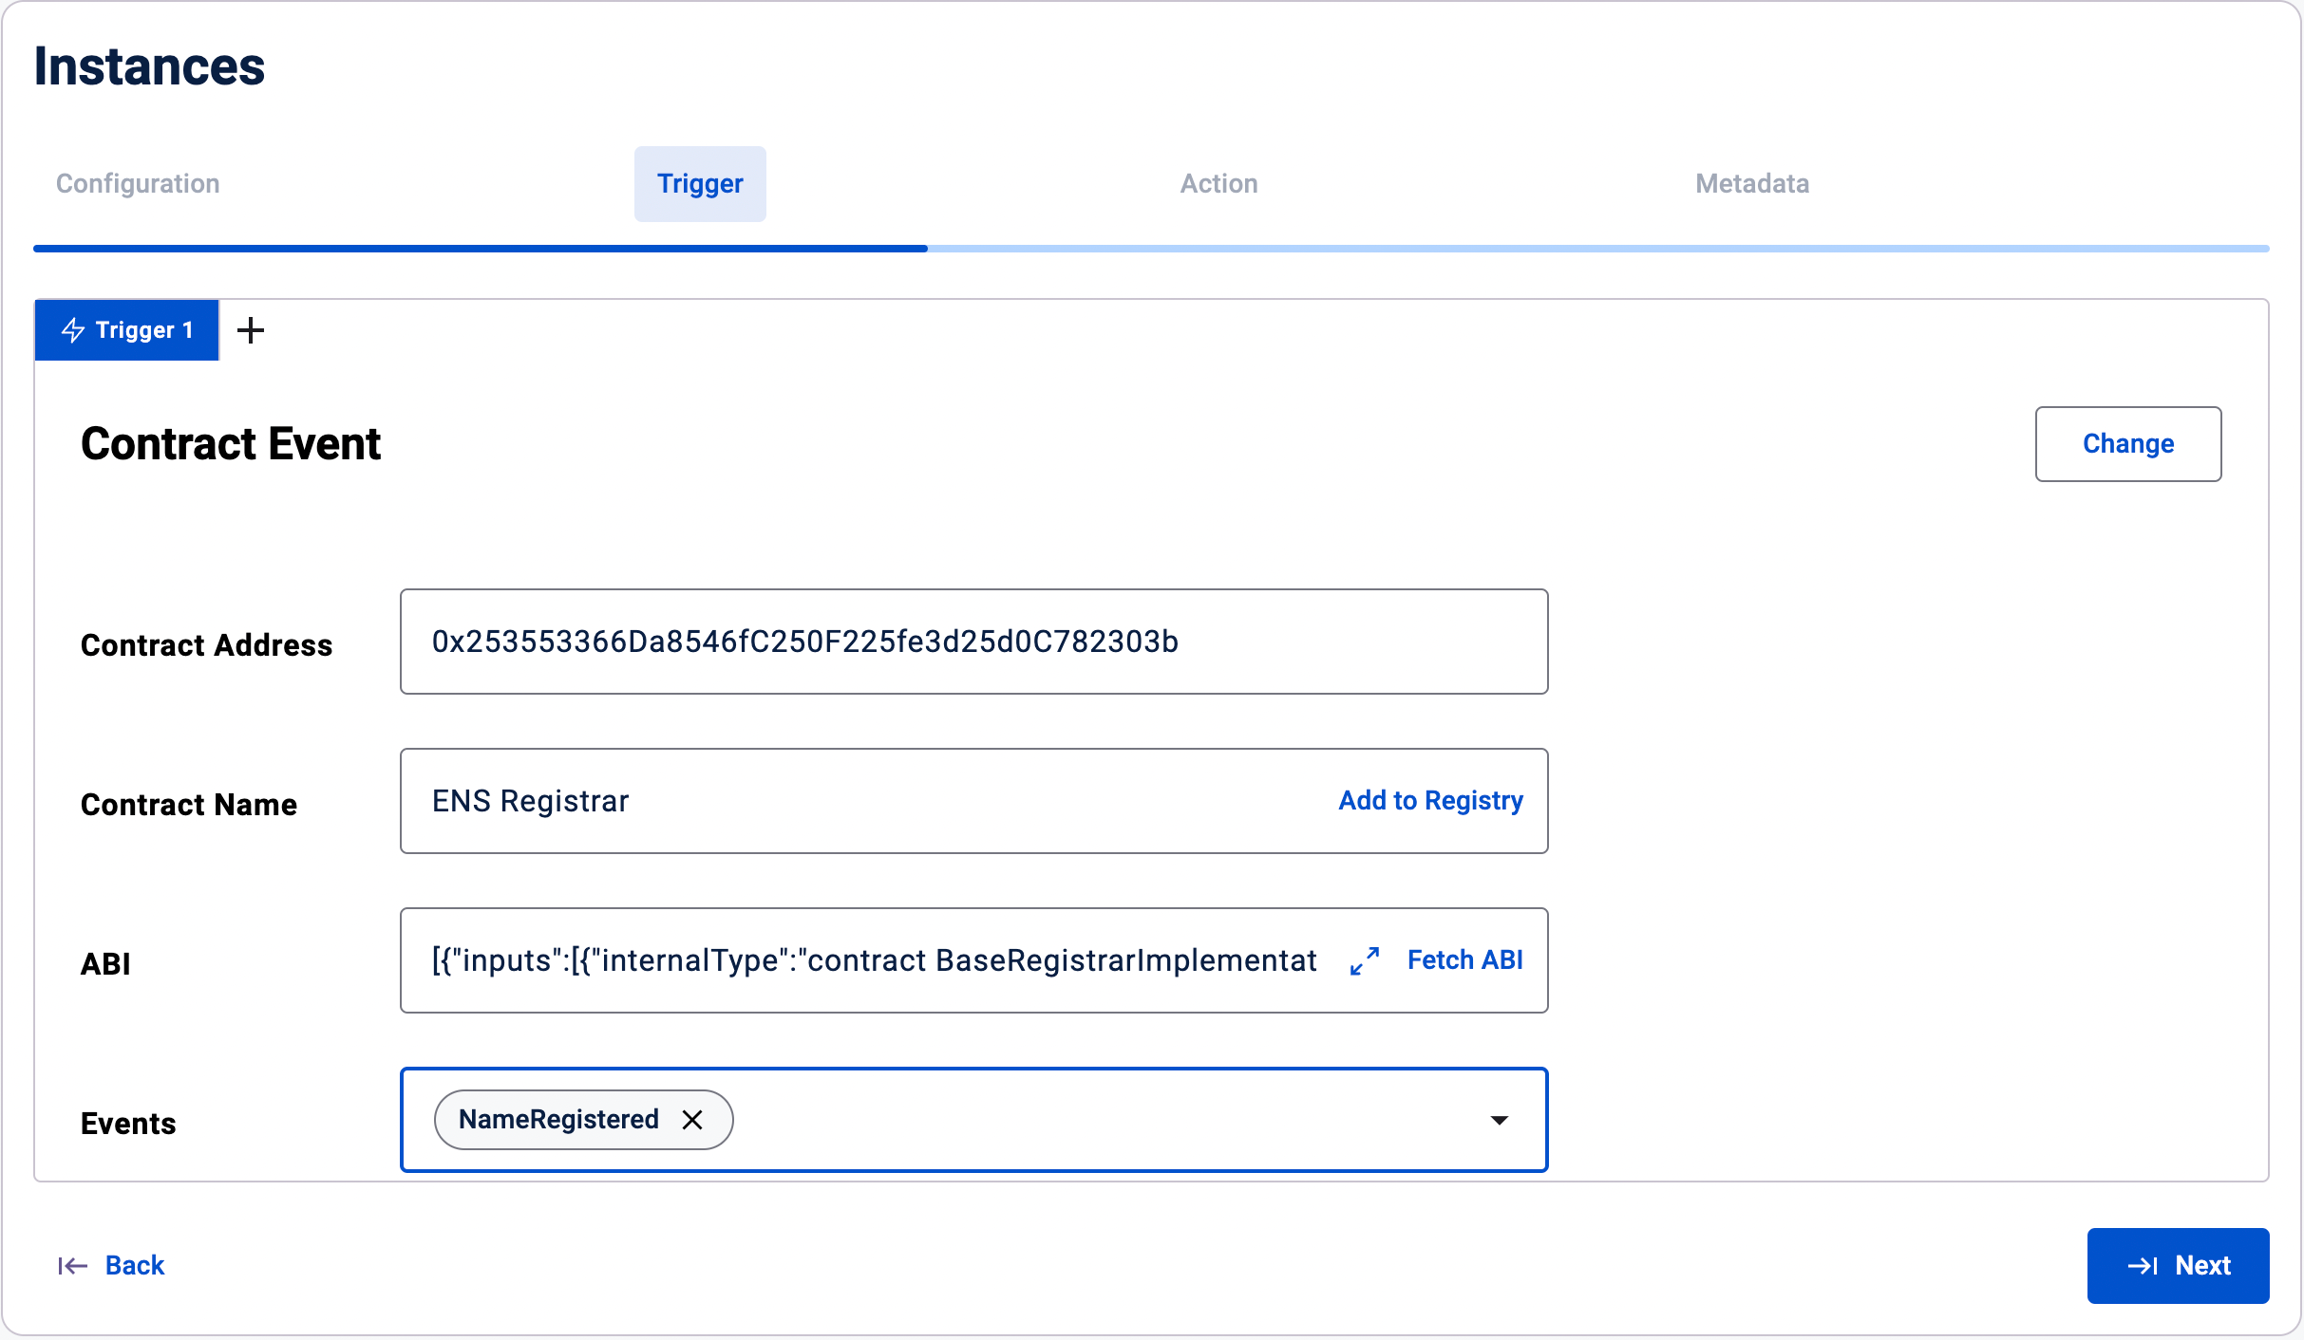
Add More Triggers: If needed, you can add multiple triggers to the same Instance by clicking the "+" button and repeating step 2.
Step 3: Define Actions for each Trigger
After defining the triggers, you need to specify the actions that should be executed when each trigger is activated. Blockflow provides a VS Code-like interface and a CLI for advanced logics to define actions. We'll be using the Interface.
The action definition interface has the following structure:
Trigger Name (Folder)
Contract Name (Folder)
Event (File)
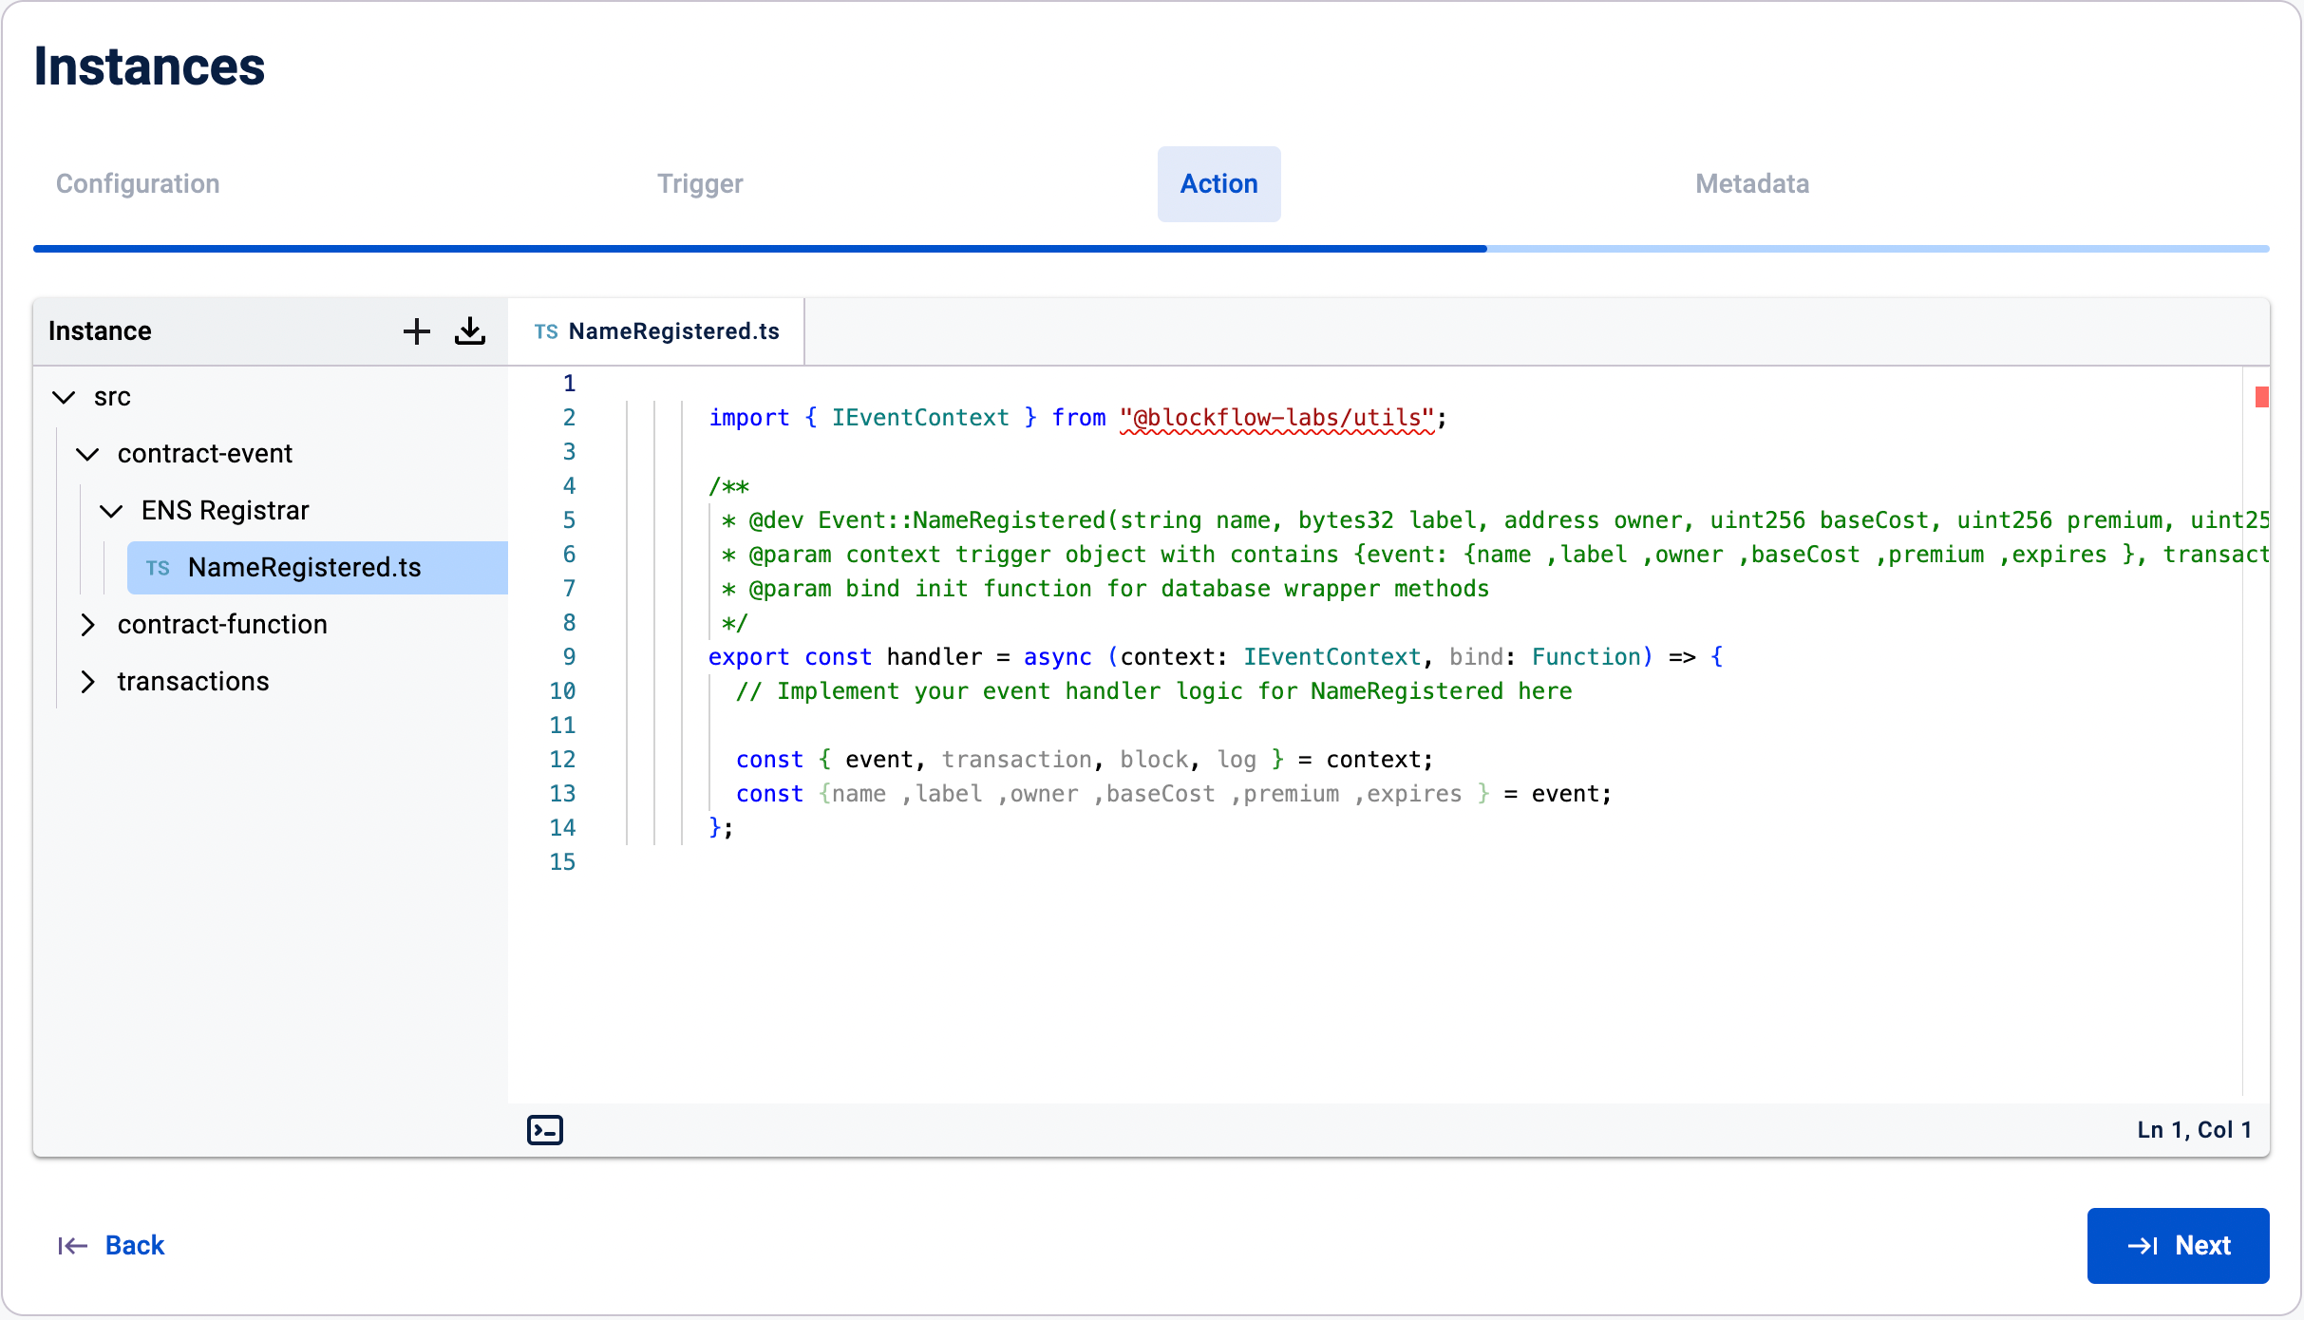
Navigate to the appropriate trigger's event file and define the desired actions. Refer to the Action Definition Guide for detailed instructions on how to define actions.
Step 4: Start Block
Start Block: Specify the block number from which your Instance should start processing. If you provide an older block number, the Instance will first process historical data until it catches up with the current state of the blockchain.
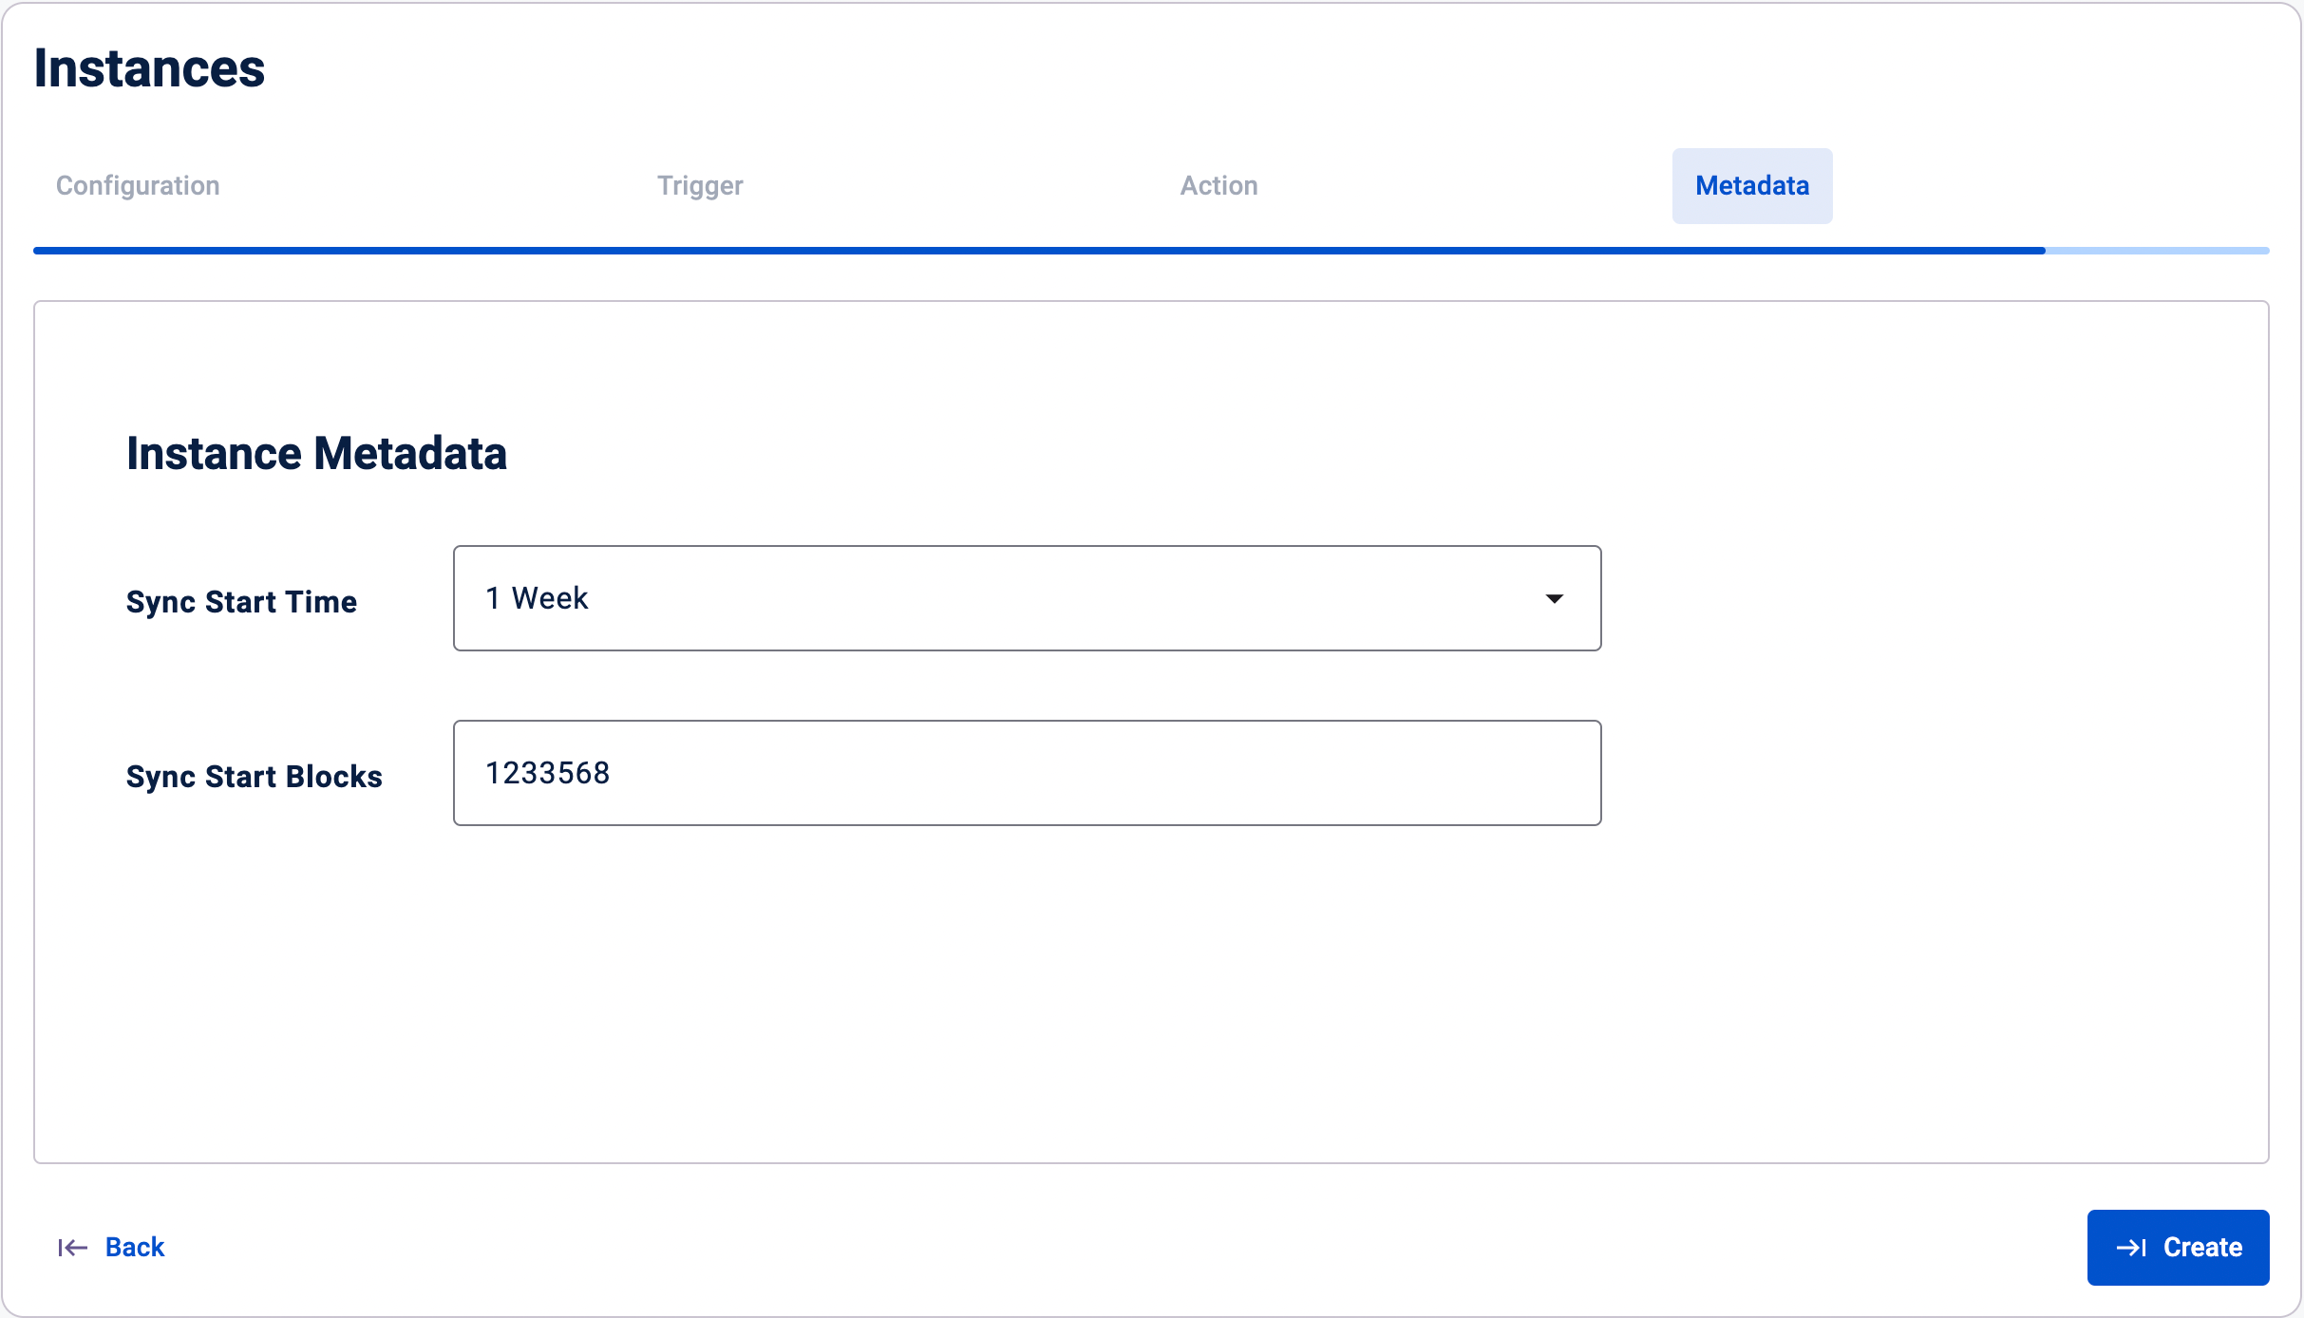
Confirm and Create: Review your Instance configuration, triggers, and actions. If everything is set up correctly, click on the "Create Instance" button to deploy your Instance on the Blockflow platform.
Congratulations! You have successfully created an Instance on Blockflow. Your Instance will now automatically execute the defined actions whenever the specified triggers are activated.
If you encounter any issues or have further questions, please reach out to our support team on Discord.
Happy automating with Blockflow Instances!